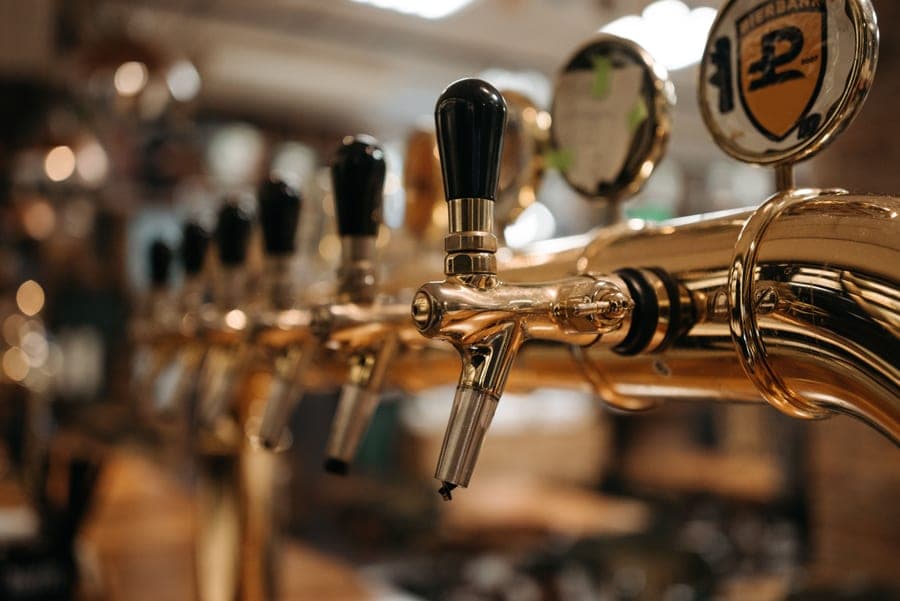
Roundup
The Best Kegerators for Homebrew
Kegerators compared on corny capacity, internal height and temperature range.
Kegging
Kegging is the upgrade brewers regret not making sooner. Here is the real cost of entry, and the difference between a kegerator and a keezer.
Bottling is the part of homebrewing people quietly stop enjoying first. Two hours of sanitizing, filling and capping per batch, two weeks of waiting for carbonation, and a cupboard full of bottles to wash before the next brew. Kegging replaces all of it with twenty minutes and a gas line. Almost nobody who switches switches back, which is unusual for a homebrewing upgrade.
The honest answer is that there are two purchases, and most kits only cover one. The dispense side is a keg, a CO2 cylinder, a regulator, gas and beverage lines, and a tap -- that is what a “kegging starter kit” contains. The cold side is a refrigerator that will hold the keg at serving temperature, and it is almost never included. Budget for both or you will end up with a keg of warm beer and a picnic tap in the fridge door.
Corny capacity, not keg capacity. A cabinet rated for one half barrel usually holds four 5 gallon ball-lock cornies -- but only if the internal height clears a keg with posts and disconnects fitted, which adds roughly an inch and a half over the keg’s stated 25 inches. Check the internal height, not the capacity claim.
Temperature range. Most kegerators are built to sit between about 32 and 45°F, which is all you need to serve. A few -- the KOMOS units are the common example -- run from the high 20s to the low 80s, which means the same cabinet can hold a fermenter at 68°F in the week you are not serving from it. If you are buying one appliance and want it to do two jobs, that range is the spec to look for.
Most “my kegerator pours all foam” complaints are not equipment faults. CO2 solubility depends on temperature, so the pressure that carbonates your beer correctly at 38°F will over-carbonate it at 45°F, and an over-carbonated beer cannot be poured cleanly through any line. Set the temperature first, look up the volumes of CO2 the style wants, set the regulator to the pressure that delivers it at that temperature, and then balance line length to the pressure. The CO2 regulator settings page works through the actual numbers, and how to force carbonate covers getting there in days rather than weeks.
Switching from bottles and want the cost and effort comparison before you commit? That is kegging vs bottling.
A detail nobody mentions when selling you a kegging kit: it comes with one keg, and one keg sets your brewing schedule to your drinking schedule. You cannot brew again until the keg is empty, which for most people means brewing stops being something you plan and starts being something you wait for.
Two kegs lets you serve one while the next carbonates. Three is the number that actually works: one serving, one carbonating, one free for the next brew day. Reconditioned corny kegs come out of commercial soft drink service in large numbers and are excellent value, with one caveat -- replace the whole seal set before first use. The lid gasket, both post O-rings and both dip tube O-rings are all consumables, and an old one is a slow leak that quietly empties your CO2 cylinder over a fortnight while you blame the regulator.
The other upgrade that arrives with the second keg is gas distribution. A single regulator sets one pressure for everything downstream, and no two styles want the same carbonation -- a stout wants roughly 1.8 to 2.0 volumes of CO2 where a saison wants 2.8 or more. At one serving temperature those need meaningfully different pressures, so one of your beers is always wrong until you add a secondary manifold with an independently adjustable body per keg.
Roundups
Roundup
Kegerators compared on corny capacity, internal height and temperature range.
Roundup
What a kegging kit includes, what it omits, and the complete cost.
Roundup
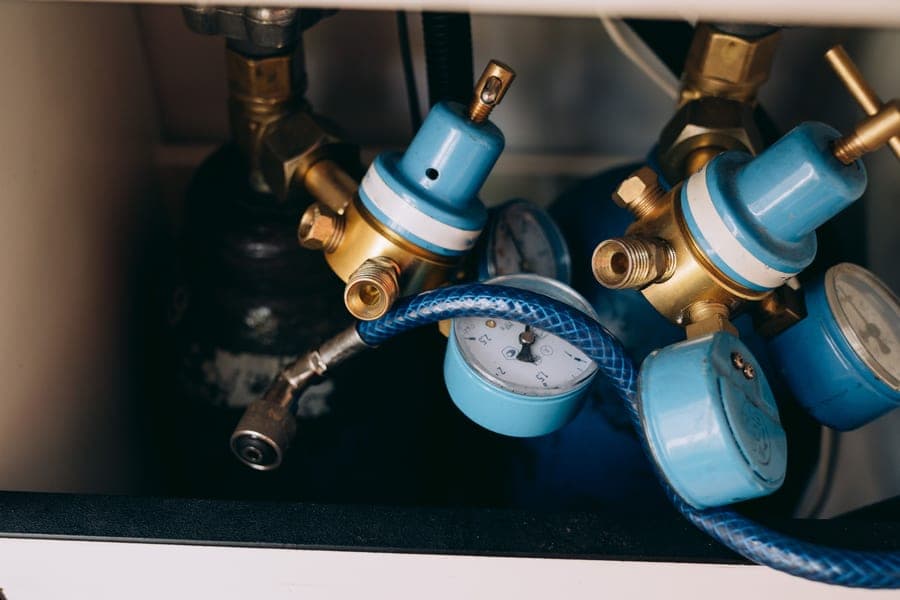
Primary regulators and secondary manifolds, and what to check before buying.

Roundup
What to buy, how often to clean, and what grows if you do not.
Comparisons
Comparison
Kegs per dollar, insulation and build effort, compared properly.

Comparison
Chilling in storage against chilling in transit -- two different problems.
Comparison
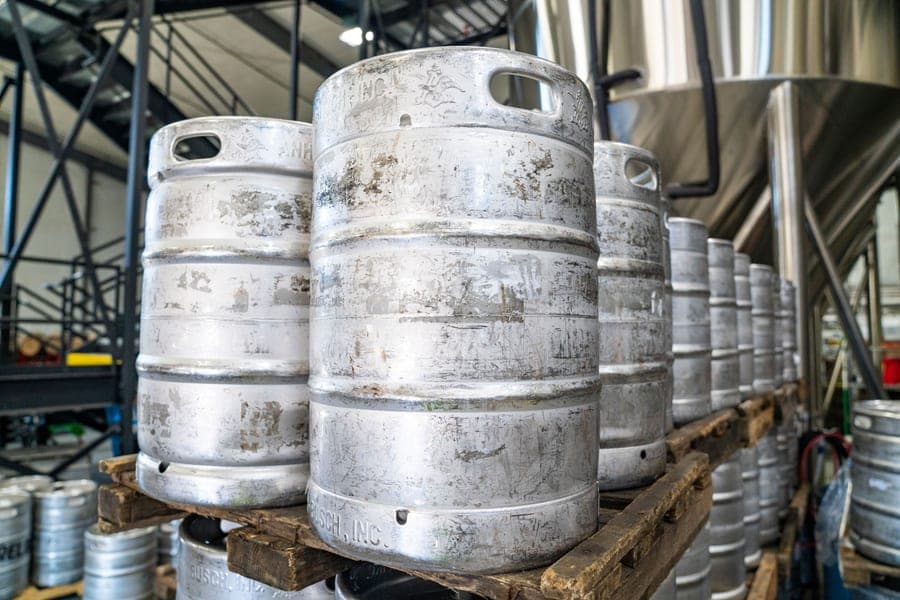
Sizes, fittings and why homebrewers use cornies rather than sanke kegs.
Reviews
Review
The wide temperature range that makes one cabinet do two jobs.
Guides
Guide
The setup order, plus the three day-one failures and how to avoid them.
Guide
PSI by temperature and style, with the line-balancing numbers.
Guide
Set-and-forget, shake and burst methods with real pressures and timings.
FAQ
Most full-size kegerators rated for one half barrel hold four 5 gallon ball-lock corny kegs, provided the internal height clears a keg with its posts and disconnects fitted. That assembly is roughly 26 to 27 inches tall rather than the keg's stated 25, so check the cabinet's internal height specification rather than trusting the keg count.
It depends on temperature and the style's target carbonation, not on a single universal number. At 38 degrees Fahrenheit, roughly 10 to 12 psi gives most ales their standard 2.4 volumes of CO2. The same pressure at 45 degrees will under-carbonate, and 20 psi at 38 degrees will over-carbonate until the beer pours as foam. Set your temperature first, then pick the pressure for it.
A keezer holds more kegs per dollar and insulates better, because chest freezers are better insulated than upright cabinets and lose less cold air when opened. A kegerator is finished, warrantied, fits a kitchen and requires no tools. If you want four or more taps and do not mind building a collar, the keezer wins on value; if you want it working this weekend and looking deliberate in a living space, the kegerator does.
Every two weeks of active service, and always between kegs of very different beers. Beer lines develop biofilm that will sour everything passing through them, and the resulting off-flavor is usually blamed on the beer rather than the line. A full clean with an alkaline line cleaner takes about twenty minutes for a two-tap system.
Not sure where to start
Which upgrade is worth making next depends on what you already own. Our signature guide sequences the whole setup by return per dollar.