Roundup
The Best Glycol Chillers for Homebrewing
Glycol chillers sized for homebrewing, and when a freezer is the better buy.
Temperature Control
This is the highest-value money in homebrewing, and the least glamorous. Control fermentation temperature and everything else you own starts performing better.
If you only read one hub on this site, read this one. Fermentation temperature does more to determine what your beer tastes like than your mash profile, your water chemistry, your kettle or your vessel. Yeast produces different compounds at different temperatures -- fruity esters and harsh fusel alcohols above its comfortable range, sluggish under-attenuation below it -- and a swing of eight degrees during the first 48 hours is enough to change a beer’s character entirely.
The painful part is that this is also the cheapest fix available. A dual-stage controller and a spare refrigerator cost less than a conical fermenter and will improve your beer more. Brewers who buy in the wrong order -- a 240V brewing system and a stainless unitank, still fermenting in a basement that swings from 58 to 74°F across a week -- have bought the expensive upgrades and skipped the effective one.
Wort chilling is a brew-day problem: getting 6 gallons of boiling wort to pitching temperature fast, so you can pitch yeast before anything else colonizes it and so cold break drops out. That is an immersion coil, a counterflow chiller or a plate chiller, and the choice is about your water supply, your tolerance for cleaning and whether you filter hops. See immersion vs plate vs counterflow.
Fermentation temperature control is a two-week problem: holding the beer itself at a chosen temperature while the yeast generates its own heat. That is a chamber plus a controller, or a glycol loop. Solving one does not solve the other, and they are not substitutes.
Controlling temperature without logging it means you find out about a stall or a runaway after the fact. A floating bluetooth hydrometer reports gravity and temperature continuously, which turns “I think it finished” into a visible curve -- and a flat curve for 48 hours is the only reliable sign fermentation is actually complete. See the Tilt hydrometer review, and hydrometer vs refractometer if you are choosing a measurement method rather than a logger.
Ready to actually set this up? The practical, numbers-first version is fermentation temperature control, and if you would rather build than buy, there is the DIY fermentation chamber guide.
Temperature control is not one setpoint held for two weeks, and understanding why makes the difference between owning a controller and using one well. Yeast produces the overwhelming majority of its flavor compounds during the growth and early fermentation phase -- the first two days. That is the window where a few degrees of overshoot does lasting damage, and where the controller earns its price.
So the practical shape of a fermentation is: pitch at or slightly below target, hold the target hard for 48 hours while the yeast is working hardest and generating the most heat, and then deliberately let it drift up. A free rise of two to four degrees around day three helps the yeast finish properly -- it reabsorbs diacetyl and acetaldehyde and attenuates more fully -- and by then the flavor-critical decisions have already been made.
That ordering is also why pressure fermentation is worth knowing about from this hub rather than only from the fermenters side. Fermenting under 10 to 15 psi suppresses the ester and fusel production that warm temperatures cause, which widens the usable temperature window dramatically -- a lager yeast under pressure in the low 60s produces a far cleaner beer than the same yeast at the same temperature at atmospheric pressure. It does not replace a setpoint, but it removes the need for a dedicated cold chamber just to brew a pilsner.
Roundups
Roundup
Glycol chillers sized for homebrewing, and when a freezer is the better buy.
Roundup
Immersion, counterflow and plate chillers compared on the trades that matter.
Roundup
Chest freezer, upright fridge or build -- compared on height and running cost.
Roundup
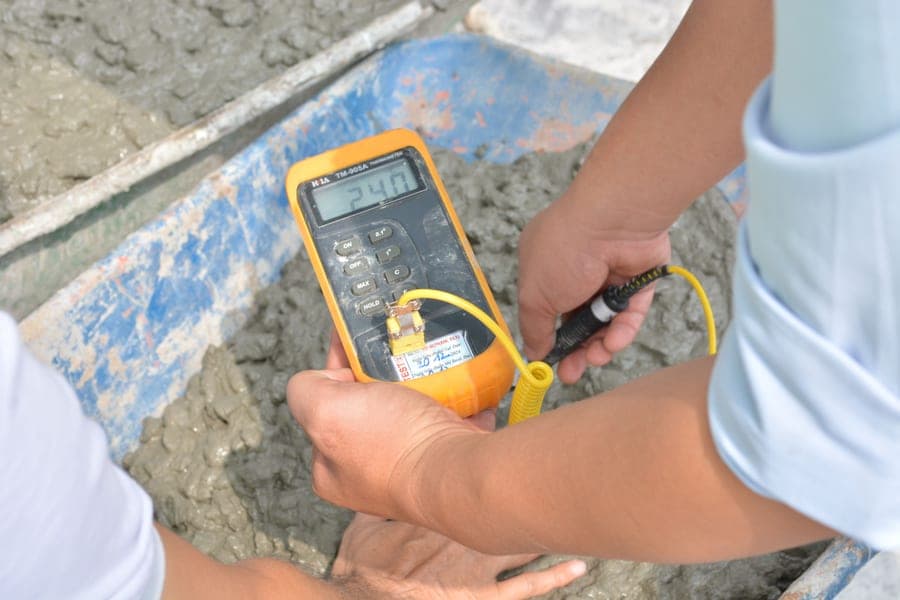
Dual-stage controllers compared, with the probe-placement rule that matters most.
Comparisons
Comparison
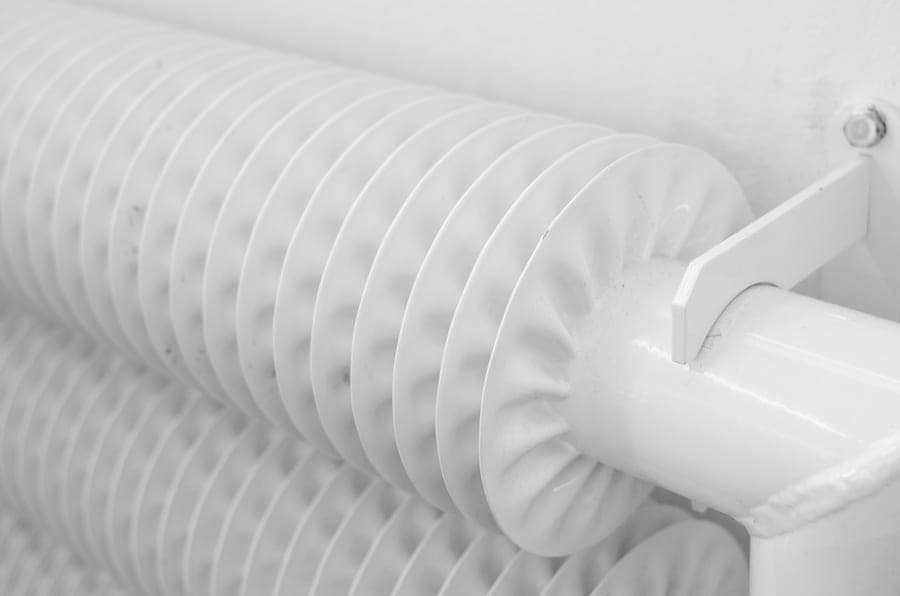
Three chiller types compared on speed, clog risk and cleaning confidence.

Comparison
Air cooling against direct wall cooling, and when the upgrade is justified.
Reviews
Review
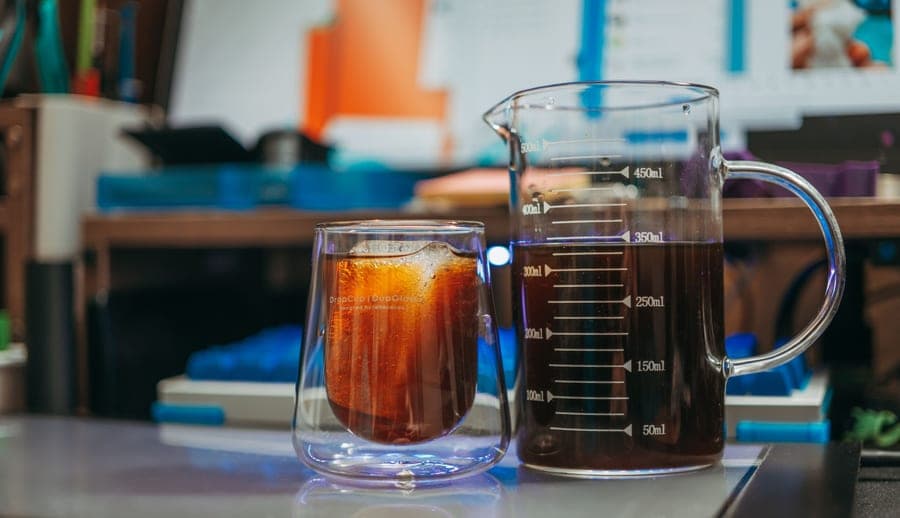
Continuous gravity logging reviewed -- what it tells you and what it does not.
Guides
Guide
Target temperatures, probe placement and the first 48 hours that decide flavor.
Guide
The loop explained, why propylene glycol, and the three installation mistakes.
Guide
The build, the settings, and the condensation and airflow details.
Guide
Sample size against accuracy, plus the alcohol correction problem explained.
FAQ
Most ale yeasts are happiest between 65 and 68 degrees Fahrenheit measured at the beer, not the air. The crucial detail is the first 48 hours: that is when the yeast produces most of its flavor compounds, and a rise above about 72 degrees in that window generates the fruity esters and solvent-like fusel alcohols that people describe as hot. Hold the setpoint hard early, then let it free-rise a few degrees at the end to help the yeast finish.
Almost certainly not. A chest freezer with a dual-stage controller delivers the same temperature stability for a fraction of the cost and running expense. Glycol earns its place when your fermenter is too tall for any chamber you can fit, when you are running more than one vessel at different temperatures, or when you need to crash-cool quickly and repeatedly.
On the fermenter, not in the air. Tape it to the side of the vessel and cover it with a piece of insulation or bubble wrap, or run it in a thermowell if the vessel has one. Air temperature inside a chamber can read six degrees cooler than the beer during active fermentation, because the yeast is generating heat the air sensor never sees.
Faster is better, but the useful threshold is getting below about 80 degrees Fahrenheit quickly enough to pitch yeast the same evening. That means twenty to thirty minutes with a decent immersion coil, or a few minutes through a counterflow or plate chiller. Rapid chilling also drops cold break out of suspension, which gives you a clearer finished beer.
Not sure where to start
Which upgrade is worth making next depends on what you already own. Our signature guide sequences the whole setup by return per dollar.