Roundup
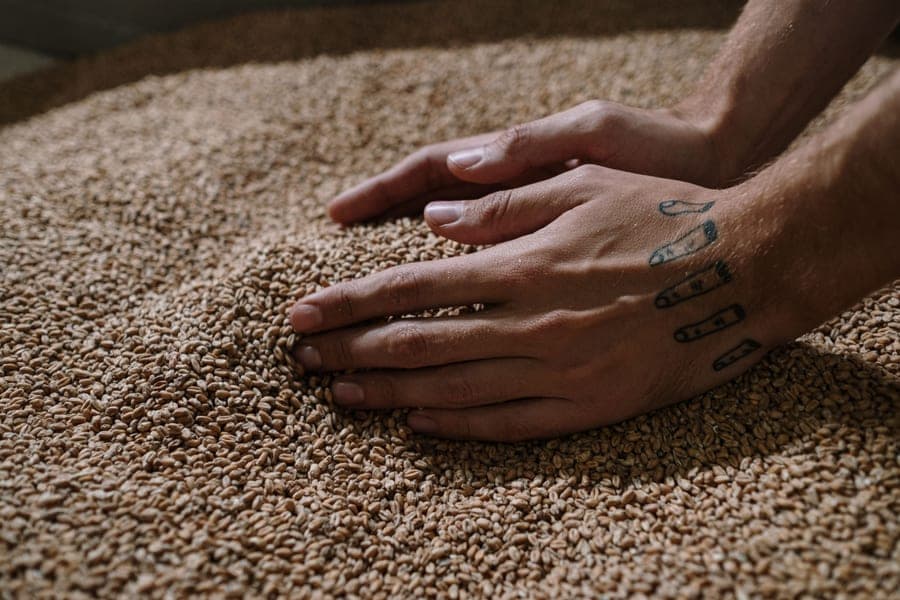
The Best Grain Mills for Homebrewing
Grain mills compared on rollers, gap adjustment and build quality.
Brew Day Gear
The least glamorous hub, and the one with the best return per dollar. A mill and a gap gauge will do more for your efficiency than a new system will.
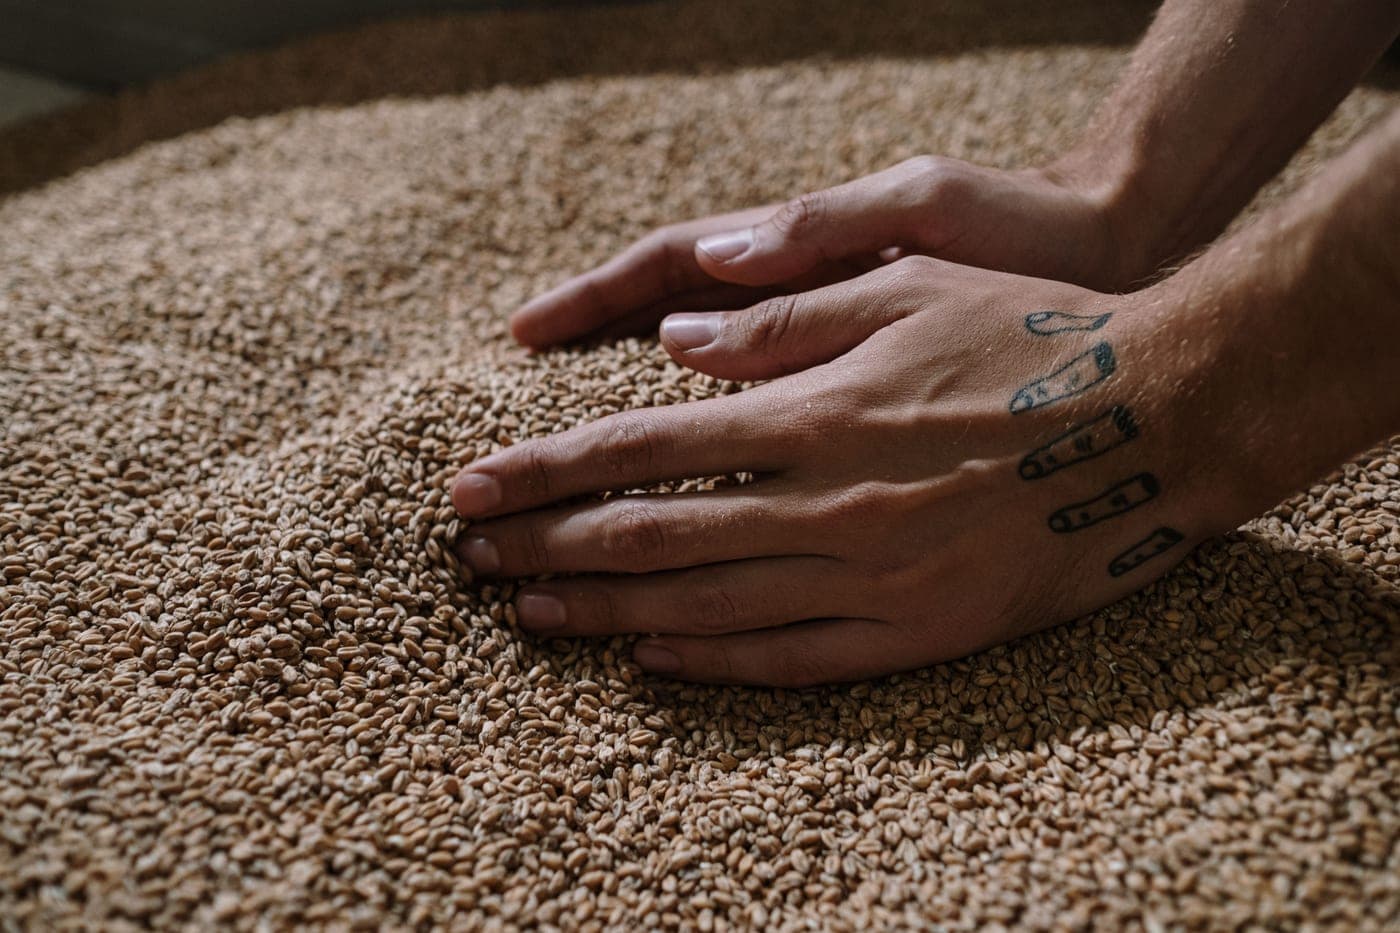
This hub is full of unfashionable purchases that pay for themselves. A grain mill, a correctly sized kettle, a way of keeping hop debris out of your pump: none of it photographs well, and all of it changes brew day more reliably than a controller firmware update.
A homebrew shop crushes to one gap, chosen to be safe for the widest range of customers and systems. That gap is almost never optimal for yours. Owning a mill means you set the gap for your process -- tighter for BIAB and all-in-one systems where there is no sparge to worry about, wider if you fly sparge and need the husk intact as a filter bed -- and a change of a few thousandths of an inch is commonly worth several points of mash efficiency.
The secondary benefit is freshness. Crushed malt starts losing aroma within days and goes noticeably stale within weeks, so buying whole grain in bulk and milling on brew day both improves the beer and cuts the per-pound cost. See best grain mills, and grain mill gap settings for the actual numbers in thousandths.
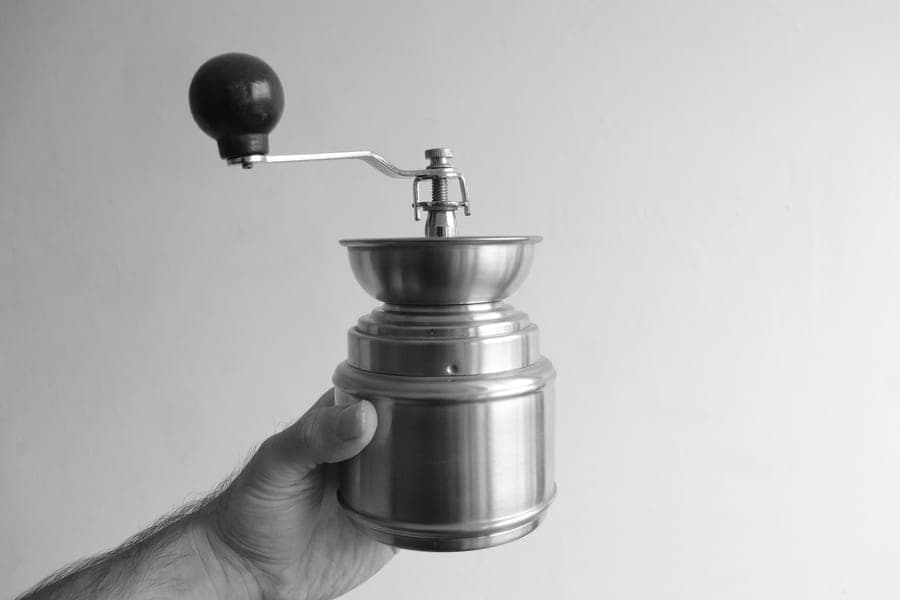
Two-roller mills crush by squeezing grain once between a pair of knurled rollers. Three-roller mills pass the grain through two nips, which lets each nip be gentler while still opening the kernel -- in principle a better crush at the same gap, and faster throughput. In practice, for a brewer milling 10 to 15 pounds per batch, a well-set two-roller mill at the right gap is indistinguishable in the finished beer. The three-roller is worth it for volume and for very tight gaps. That is the whole argument, laid out properly in two-roller vs three-roller.
Buy a kettle at least 50 percent larger than your finished batch. A 5 gallon batch needs a 10 gallon kettle: pre-boil volume is around 7 gallons, hot break foams, and the gap between a vigorous boil and a boilover is a couple of inches of freeboard. The other spec worth paying for is welded fittings rather than stamped ones -- a welded tri-clamp ferrule can be rebuilt, where a stamped fitting that starts weeping is the end of the kettle. See best brew kettles and how to clean a brew kettle.
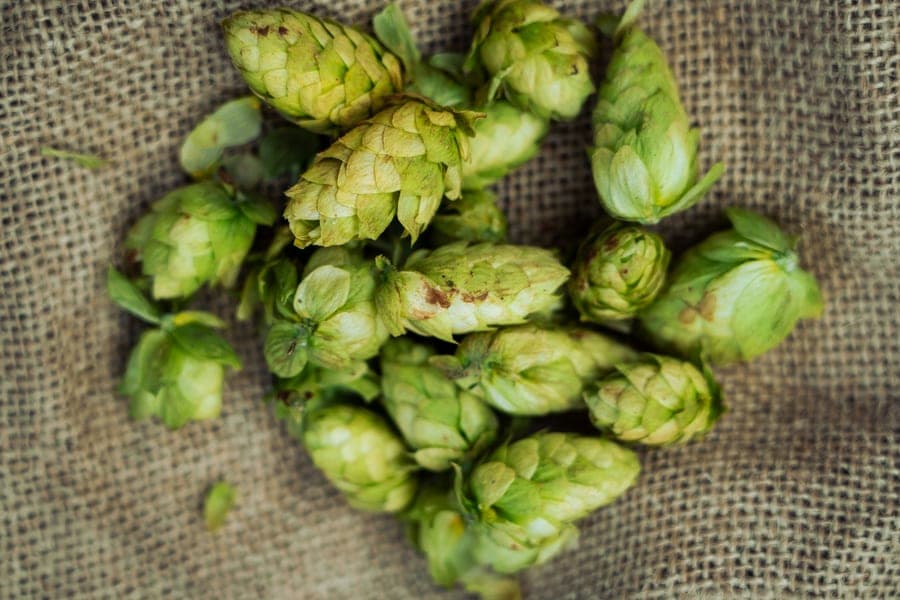
Nobody buys a hop spider for better beer. You buy one because 8 ounces of pellet hops turns into a slurry that will clog a plate chiller solid, jam a pump impeller and plug a dip tube. Containing hops in a 300 micron basket costs you a small amount of utilization and saves a brew day. The counter-argument -- that free-floating hops extract better -- is real, and hop spider vs bag weighs it honestly rather than pretending there is no trade-off.
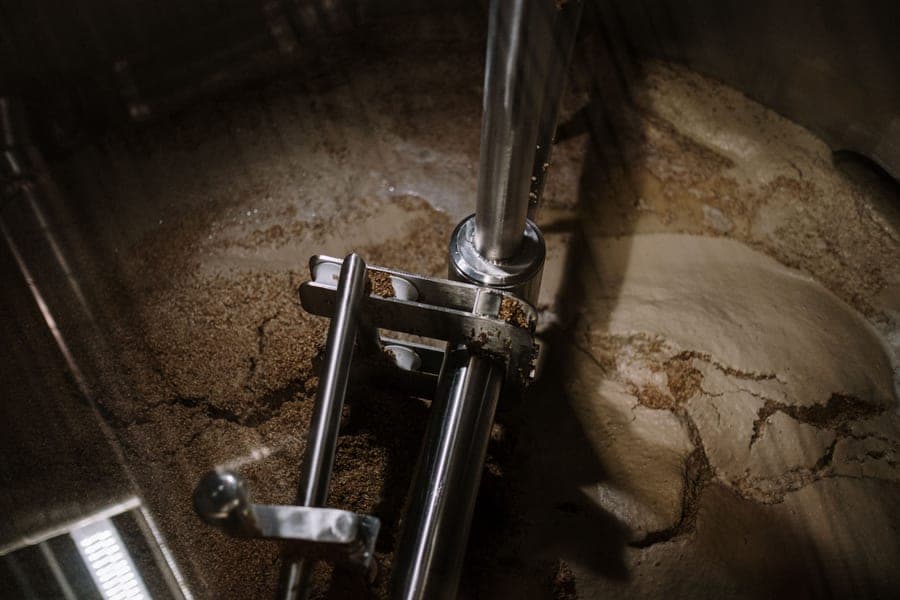
If you mash in a cooler or a kettle rather than an electric system, the false bottom or manifold is what determines whether your runnings flow or stick. A domed perforated plate resists collapse under grain weight and traps less wort beneath it than a flat plate does. See false bottoms explained and mash tun vs lauter tun if the terminology has been used at you without being defined.
Not sure what to buy next across the whole setup? The sequencing argument is brew day upgrade order, which feeds into the site-wide upgrade path.
Roundups
Roundup
Grain mills compared on rollers, gap adjustment and build quality.

Roundup
Gifts a brewer probably does not own, chosen for the person doing the shopping.
Roundup
Four upgrades well-equipped brewers know about and keep not buying.
Comparisons
Comparison
Spider against bags against free-floating, on utilization and practicality.
Comparison
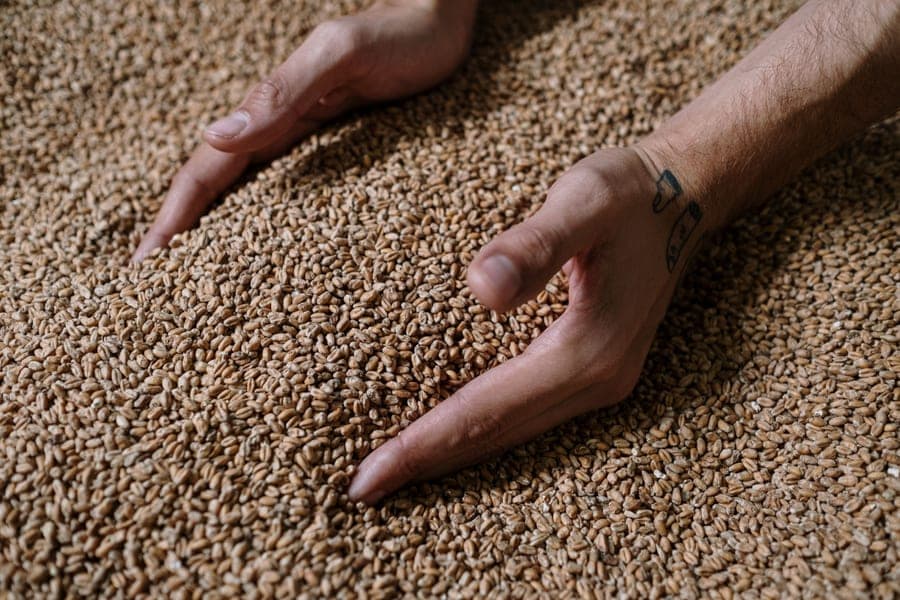
Crush quality, husk integrity and throughput, and when the third roller pays.
Comparison
What each vessel does, and why homebrewers combine the two functions.
Guides

Guide
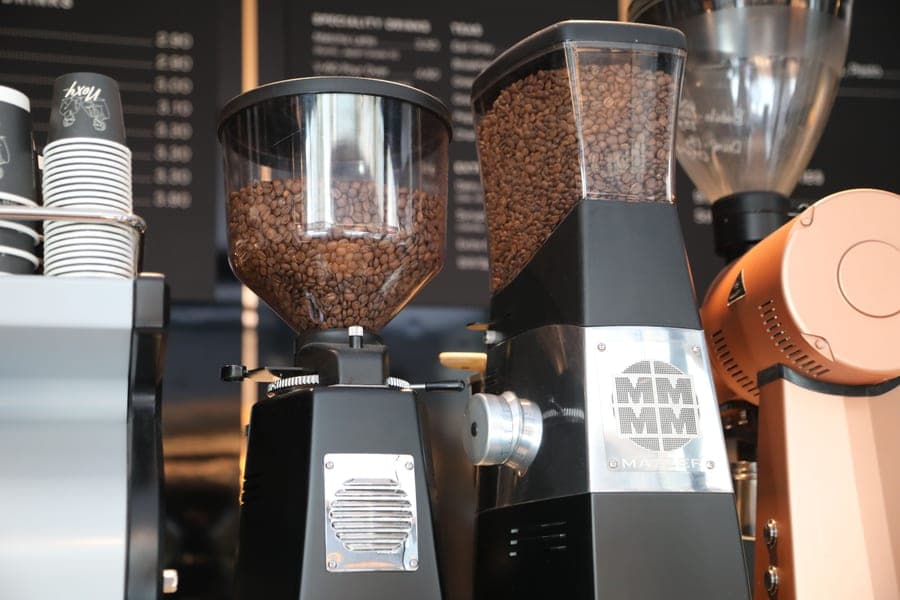
What a false bottom does, domed versus flat, dead space, and the alternatives.
Guide
Alkaline for protein, acid for scale, and why the valve must come apart.
FAQ
It is one of the best value purchases in the hobby. Setting your own gap commonly gains several points of mash efficiency over a shop's one-size-fits-all crush, and milling on brew day instead of buying pre-crushed grain preserves aroma that starts dissipating within days of crushing. Buying whole grain in bulk also lowers the per-pound cost, so the mill pays for itself over a year of regular brewing.
Around 0.035 inches is a sensible starting point for most setups. Brew-in-a-bag and all-in-one electric systems can go tighter, down toward 0.025 inches, because there is no sparge that depends on the husk acting as a filter bed. If you fly sparge, stay wider to keep the husks intact and the bed permeable. Change the gap in increments of a few thousandths and measure your efficiency between changes rather than guessing.
Ten gallons. Pre-boil volume for a 5 gallon batch is around 7 gallons, hot break foams up substantially in the first minutes of the boil, and the margin between a vigorous boil and a boilover is only a few inches of freeboard. An 8 gallon kettle technically works but requires watching the boil rather than running it.
Slightly, yes, and anyone who tells you otherwise is overselling it. Restricting hop movement reduces extraction compared with free-floating pellets. The trade is deliberate: you accept a small utilization loss in exchange for not clogging a plate chiller, jamming a pump impeller or plugging a dip tube. If you brew without a pump or a plate chiller, the case for a spider is much weaker.
Not sure where to start
Which upgrade is worth making next depends on what you already own. Our signature guide sequences the whole setup by return per dollar.