Guide
Homebrew Kegging Setup, Step by Step
The order to do things in, and the three things that stop a new kegging setup working on day one.
The short answer
Replace every seal on a used keg, leak test the whole system with soapy water before adding beer, purge the keg with CO2, transfer, then set the serving pressure for your temperature. The three things that stop a new setup working are an empty CO2 cylinder, old keg seals and a pressure-temperature mismatch.
DisclosureWe earn a commission on qualifying purchases made through links on this page, at no extra cost to you. It does not change what we recommend or how we rank it -- here is how we pick and here is the full disclosure.
Before anything
Sort the CO2 and the seals
Two tasks that have nothing to do with beer and that stop most first setups dead.
The cylinder arrives empty. Almost universally. Find a local gas supplier, welding shop or fire extinguisher service that fills or exchanges CO2, and do it before your beer is ready rather than on the evening you want to keg.
Replace every seal on a used keg. Reconditioned cornies are excellent value and they come out of commercial service with old rubber. Replace the lid gasket, both post O-rings and both dip tube O-rings -- a complete seal kit is inexpensive and fitting one prevents a week of hunting a leak that is quietly emptying your cylinder.
Step 1
Clean and sanitize the keg properly
- Dismantle it. Lid off, both posts unscrewed, both dip tubes out. Flushing a closed keg is not cleaning it.
- Soak the components in a warm non-caustic alkaline brewery wash. Pay attention to the post bodies and the inside of the dip tubes, which is where soil hides.
- Scrub the keg interior -- stainless tolerates a brush -- rinse thoroughly, then reassemble with the new seals.
- Sanitize. Fill with a couple of liters of no-rinse sanitizer, seal, shake it around to wet the whole interior, then push the sanitizer out through the liquid post with CO2. That sanitizes the keg and the dip tube and leaves the keg full of CO2 -- which is also step 3 done for free.
Step 2
Leak test before the beer, not after
This is the step people skip and regret. Pressurize the assembled keg to around 20 psi, then:
- Spray soapy water or sanitizer on the lid seam, both posts, the disconnects, and every line fitting. Look for growing bubbles.
- Close the cylinder valve and leave it overnight. If the regulator output gauge has dropped by morning, you have a leak downstream.
- Most leaks are the lid gasket or a post O-ring. A smear of food-grade keg lube on the lid gasket helps it seat.
Step 3
Purge the keg, then transfer
Oxygen is the main thing that will degrade your beer in the keg. If you pushed sanitizer out with CO2 in step 1, the keg is already full of CO2 and you are done. Otherwise, pressurize and vent several times -- less complete, but far better than transferring into an air-filled keg.
Then transfer. If your fermenter is pressure rated, do a closed transfer liquid post to liquid post and the beer never meets air at all -- see how to pressure ferment. If not, siphon gently with the tubing outlet below the beer surface in the keg to minimize splashing, then seal and purge the headspace once more.
Step 4
Set temperature first, then pressure
The order matters and nearly everyone gets it backwards. CO2 solubility depends on temperature, so a pressure only means something at a stated temperature. Chill the keg to serving temperature first -- around 38°F -- and let it get there fully. Then set the pressure that delivers your target carbonation at that temperature.
For most ales at 38°F that is roughly 10 to 12 psi. The full reasoning and the numbers for other styles and temperatures are in CO2 regulator settings, and if you want carbonation in days rather than a week, how to force carbonate.
Step 5
Balance the line, or accept foam
The last piece, and the one that explains most “it pours all foam” complaints that are not a temperature problem. Beverage line has flow resistance, and the job of the line is to drop the keg’s pressure down to roughly zero at the faucet. Too short a line and beer arrives at the faucet still under pressure, where it breaks out of solution as foam.
Practically: if you are serving at 10 to 12 psi through standard 3/16 inch beverage line, you want several feet of it -- considerably more than the short length many kits ship. If your pour foams at a correct temperature and pressure, add line before changing anything else.
What we recommend
The products on this page
What this guide assumes
Mid tier
Complete Homebrew Kegging Starter Kit
Kegco / KOMOS / MoreBeer
Keg, CO2 cylinder, regulator, gas and beverage lines, disconnects and a picnic tap. Buying the gas and liquid side as a kit avoids fitting mismatches.
Spec sheet
- Keg
- One 5 gal ball-lock corny (new or reconditioned)
- Gas
- 5 lb CO2 cylinder (usually empty on arrival)
- Regulator
- Single-body dual-gauge
- Lines
- Gas line, beverage line, disconnects
- Dispense
- Picnic (party) tap on most kits
- Not included
- Cooling -- that is the kegerator decision
What it is not good at
Cylinder usually arrives empty, and cooling is not included.
Who it is for
A first kegging setup
Needed at every step
Entry tier
Five Star Star San Sanitizer
Five Star Chemicals
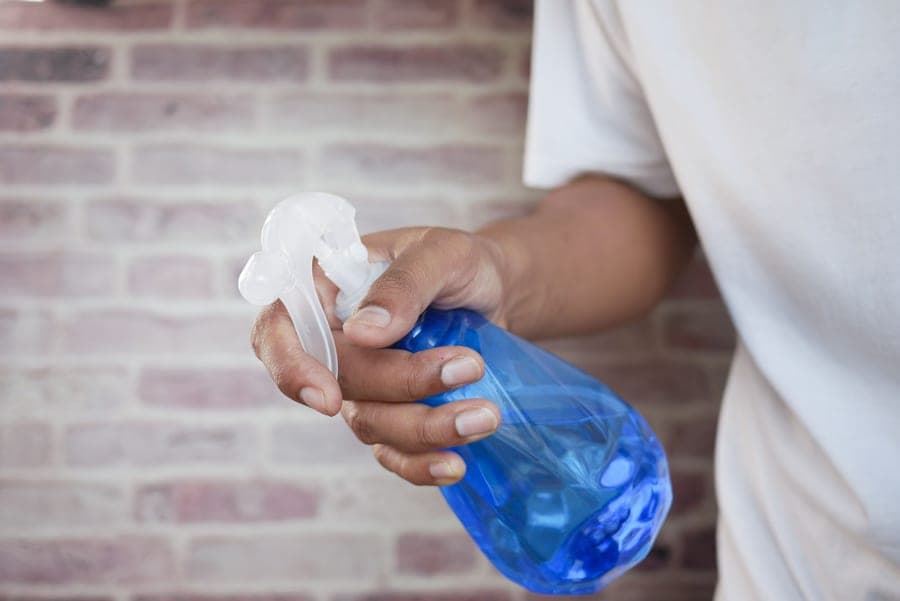
No-rinse acid sanitizer at an ounce per five gallons. A keg has more fittings than a bucket and each one is an entry point.
Spec sheet
- Type
- Acid-anionic, no-rinse
- Contact time
- 1-2 minutes
- Dilution
- 1 oz per 5 gal
What it is not good at
Clean first -- sanitizer does not work through soil. Needs low-alkalinity water.
Who it is for
Keg, posts, dip tubes, lid, lines, disconnects
Get this right
Mid tier
Taprite Dual-Gauge CO2 Regulator
Taprite
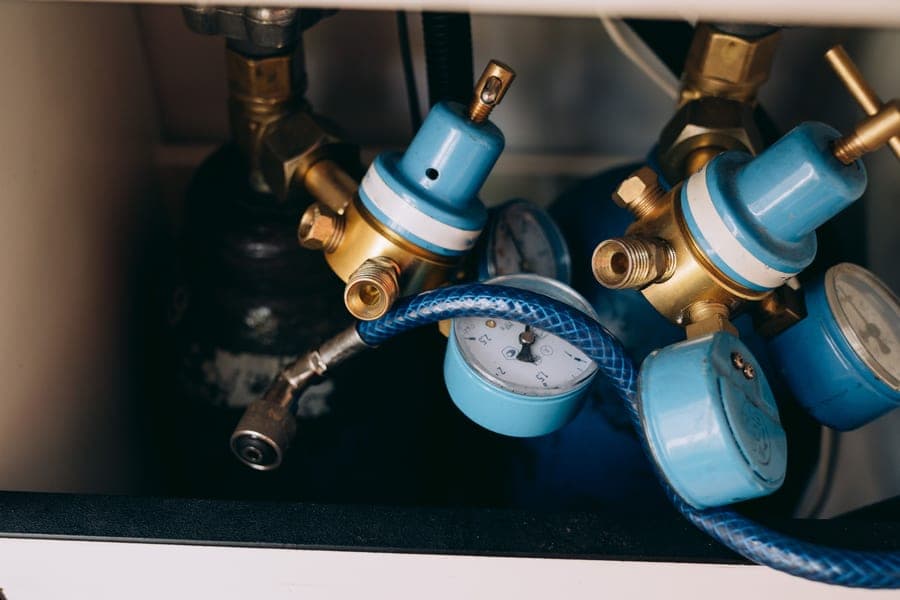
Dual gauges show output pressure and tank contents, and a 0-60 psi range covers both serving and force carbonating.
Spec sheet
- Gauges
- Dual -- output pressure and tank contents
- Output range
- 0-60 psi
- Inlet
- CGA-320 CO2 tank thread
- Outlet
- 1/4 in MFL or barb
- Body
- Forged brass
- Serviceable
- Rebuild kits widely available
What it is not good at
One body means one pressure for every keg downstream.
Who it is for
Setting and holding a serving pressure
FAQ
Questions brewers actually ask
How do you set up a homebrew keg for the first time?
Fill the CO2 cylinder, replace every seal on the keg, dismantle and clean it, then sanitize by filling with sanitizer and pushing it out through the liquid post with CO2 -- which also purges the keg. Leak test at 20 psi with soapy water, transfer the beer, chill to serving temperature, then set the pressure for that temperature.
How do you purge a keg of oxygen?
The best method is to fill the keg with sanitizer, seal it, and push all the sanitizer out through the liquid post using CO2. That leaves the keg completely full of CO2 with no oxygen, and it sanitizes the dip tube on the way out. The quicker alternative is to pressurize and vent several times, which is less complete but far better than nothing.
Why is my kegged beer flat?
Usually a leak, or not enough time at pressure. Pressurize the system, close the cylinder valve overnight, and check whether the regulator gauge has dropped -- if it has, spray every joint with soapy water and look for bubbles, starting with the lid gasket and post O-rings. If there is no leak, give it two to three days at serving pressure before judging it.
Why does my keg pour nothing but foam?
Three usual causes, in order. The beer is warmer than the pressure assumes, so CO2 is coming out of solution. The pressure is set too high for the temperature. Or the beverage line is too short to drop the keg pressure to zero at the faucet, so the beer breaks out as it exits. Fix the temperature first, then the pressure, then add line.
Do I need to replace the seals on a new keg?
Not on a genuinely new keg, but yes on a reconditioned one. Reconditioned cornies come out of commercial soft drink service with old lid gaskets, post O-rings and dip tube O-rings, any of which can produce a slow leak. A complete seal kit is inexpensive and fitting one before first use saves a frustrating week of leak-hunting.
Read next
More on kegging
Roundup
The Best Homebrew Keg Systems
What a kegging kit includes, what it omits, and the complete cost.
Guide
CO2 Regulator Settings: PSI by Temperature and Style
PSI by temperature and style, with the line-balancing numbers.
Guide
How to Force Carbonate a Keg
Set-and-forget, shake and burst methods with real pressures and timings.
Roundup
The Best Kegerators for Homebrew
Kegerators compared on corny capacity, internal height and temperature range.