Roundup
Best Kegerator Conversion Kits
A conversion kit is a parts list with a box around it. The parts you get decide whether the build works or sits half-finished.
The short answer
A complete homebrew kegging starter kit is the best kegerator conversion kit for most people: it brings the keg, the dual-gauge regulator, the CO2 cylinder and the lines, which is everything a fridge or chest freezer lacks. Add a forward-sealing faucet and a second corny keg and the conversion is done.
DisclosureWe earn a commission on qualifying purchases made through links on this page, at no extra cost to you. It does not change what we recommend or how we rank it -- here is how we pick and here is the full disclosure.
At a glance
Quick picks
| # | Product | Best for | Price |
|---|---|---|---|
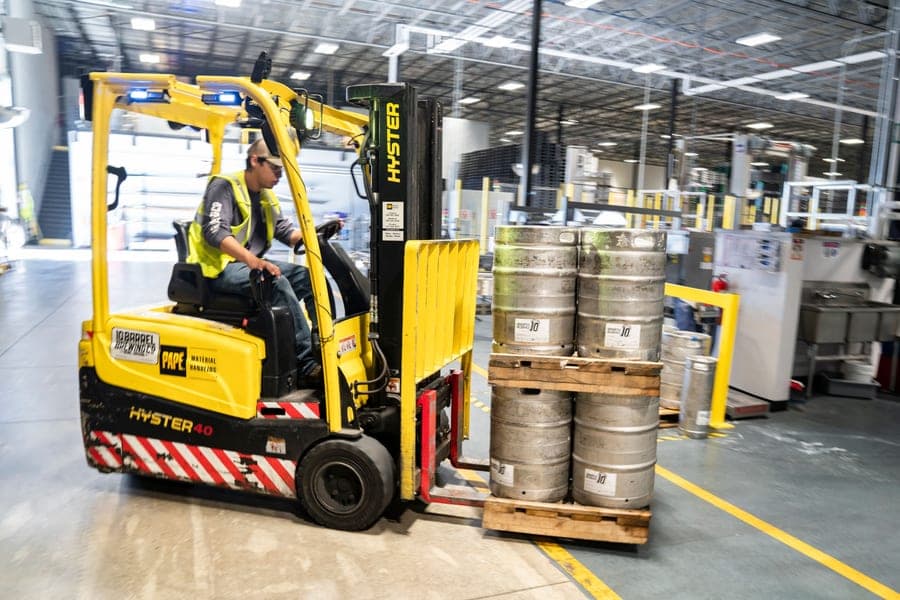
| 1 | Best overall conversion kit Complete Homebrew Kegging Starter Kit This is the conversion kit in practice: a 5 gallon ball-lock corny, a dual-gauge regulator, a CO2 cylinder, gas and beverage line and disconnects. Deliberately excludes cooling, which is the part you are supplying from the appliance in your garage. | Converting any fridge or freezer you already own | |
| 2 | 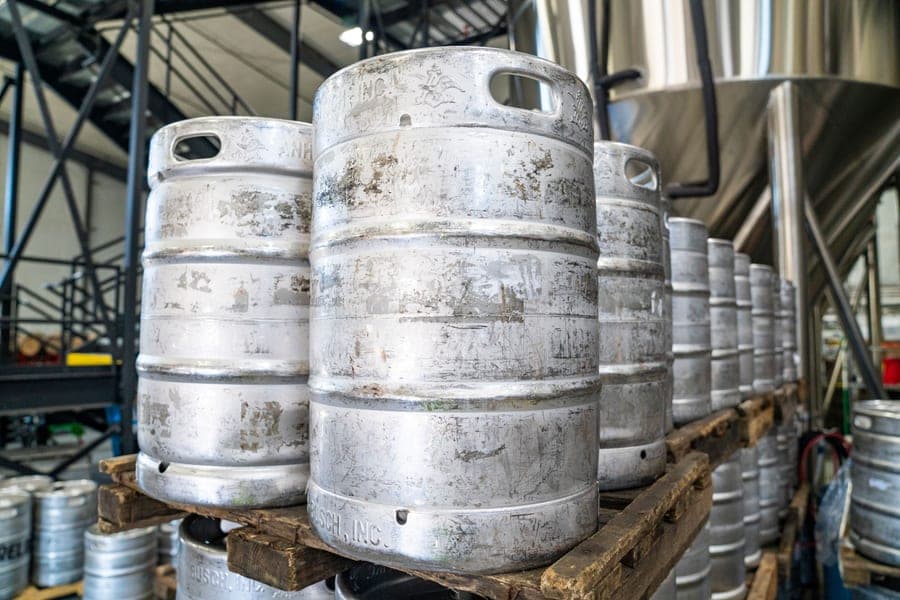 Best first addition 5 Gallon Ball Lock Corny Keg One keg means the system is empty between batches. A second 5 gallon ball-lock corny is the cheapest upgrade in kegging and the one every converted fridge needs within a month. | Anyone who brews more often than they drink five gallons | |
| 3 | 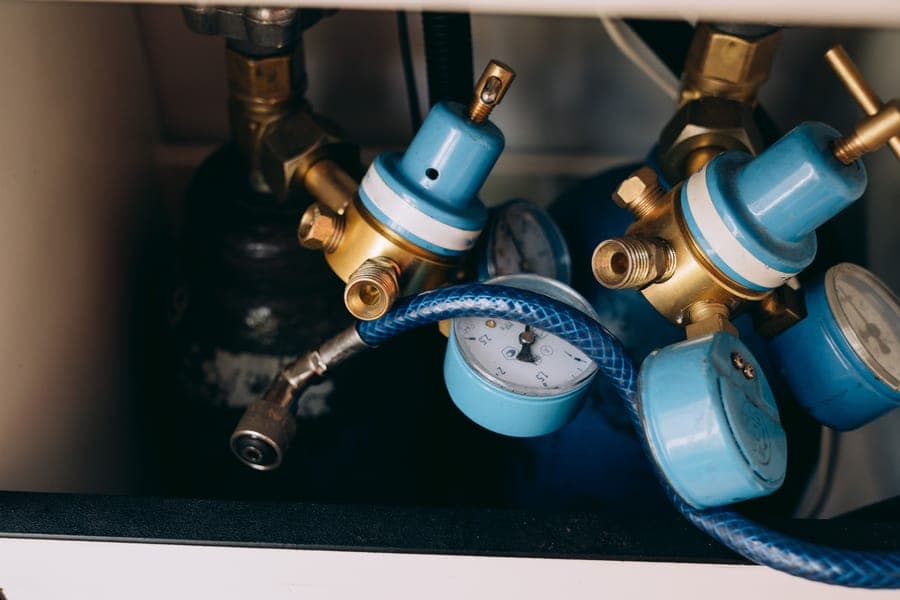 Best regulator upgrade Taprite Dual-Gauge CO2 Regulator Forged brass body, 0-60 psi output, one gauge for output pressure and one for tank contents, and rebuild kits are easy to find. The part you will still be using in ten years. | Kits that shipped a thin single-gauge regulator | |
| 4 | 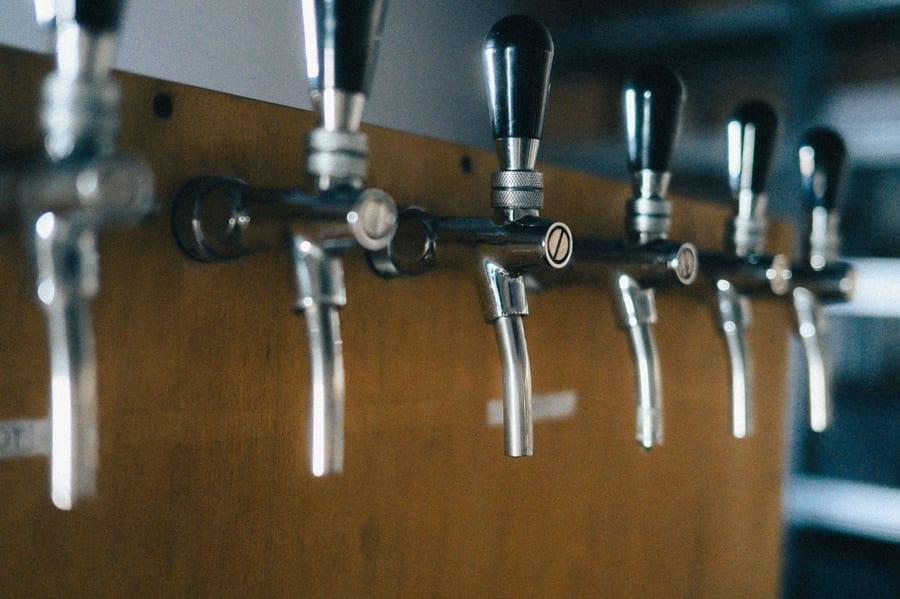 Best dispense upgrade Intertap Stainless Forward-Sealing Faucet Forward sealing, so beer does not sit in the faucet shaft between pours, in 304 stainless with interchangeable spouts. The step that turns a conversion from a picnic tap into a real tap. | Through-door and tower installs on a converted fridge | |
| 5 | 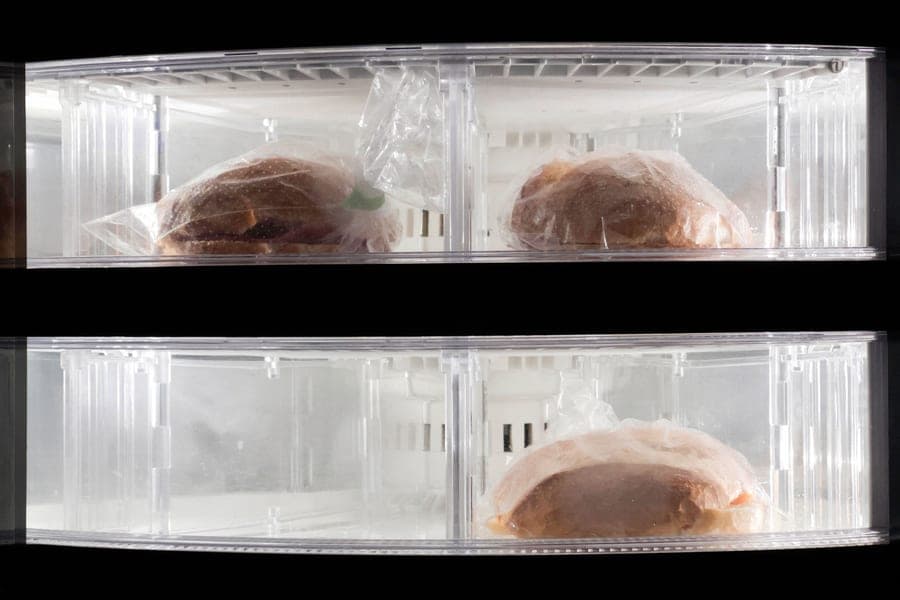 Best appliance to convert Chest Freezer Fermentation Chamber (with controller) A chest freezer plus an external dual-stage controller is the cheapest cold box per keg available, and it holds serving temperature more cheaply than any upright because the cold air stays in when you open it. | Brewers choosing the cabinet rather than converting what they own |
Prices are checked on Amazon when you click. We never print a number we cannot verify.
What a conversion actually needs, and where it comes from
| Part | In a typical kit | Notes |
|---|---|---|
| Corny keg | Yes, one | Buy a second early |
| CO2 cylinder | Usually 5 lb | Ships EMPTY -- budget a fill |
| Regulator | Yes, often single body | Dual gauge is the standard |
| Gas and beverage line | Yes | Beverage line length sets your foam |
| Ball lock disconnects | Yes | Gas gray, liquid black |
| Dispense | Picnic tap | Faucet and shank are separate |
| Faucet and shank | No | Add a forward-sealing faucet |
| Temperature control | No | The appliance plus a controller |
| Collar or tower | No | Needed on a chest freezer |
What you are actually buying
A parts list, not an appliance
Search for a kegerator conversion kit and you will find boxes at wildly different prices that are all solving the same problem: an appliance makes things cold and knows nothing about beer. The kit supplies the beer side -- a vessel that holds pressure, a regulator that lets gas in at a controlled rate, lines, disconnects and something to pour through.
That means the honest way to compare kits is to compare parts lists, not photographs. The table above is the complete list; everything a kit omits is a separate order and a second shipping charge.
It also means the appliance decision is independent of the kit decision. Converting the beer fridge in your garage, buying a used chest freezer, or building a keezer are three different cold boxes and the same kit serves all three -- kegerator vs keezer weighs the two common choices.
The empty cylinder
The detail that stalls build day
Nearly every kit ships its CO2 cylinder empty, because full cylinders are hazardous goods. Brewers assemble the whole conversion on a Saturday and then discover there is no gas, and that the welding supplier who fills cylinders closed at noon.
Find your fill or exchange source before the kit arrives. Welding gas suppliers, fire-extinguisher services, paintball shops and some homebrew shops all do it, and prices vary by a factor of two for the same five pounds of gas. If the kit cylinder looks small for your plans, compare the sizes first -- best CO2 tanks for homebrew explains why fill fees barely move between a 5 lb and a 20 lb tank.
Upright or chest
Two appliances, two different builds
An upright fridge is the easier conversion. The kegs stand on the floor of the cabinet, the faucet goes through the door or sits on a tower, and you are done. The cost is efficiency: every time the door opens, the cold air falls out.
A chest freezer is cheaper to buy and cheaper to run, because cold air does not fall out of a box you open from the top. The cost is carpentry: faucets need to be at hand height, which means a wooden collar between the body and the lid, or a tower through the lid. That collar is also where your gas manifold and shanks mount, which is why most keezer builds end up with one -- the keezer build guide has the whole sequence.
The part that decides your pours
Line length, not pressure
Most foaming problems on a fresh conversion are not carbonation problems. They are line-resistance problems. The beverage line has to drop the pressure from serving pressure to roughly zero at the faucet, and it does that through friction over its length.
Kits ship a generic length, usually short, because short line coils neatly in a box. Cut it long and your pours settle down without touching the regulator -- beer line length works through the arithmetic properly.
Order of purchase
What to add, and when
- Week one: the kit, a cylinder fill, and a long beverage line. That is a working draft system on a picnic tap.
- Month one: a second corny keg, so the system is never empty, and a line cleaning kit, because a converted fridge needs the same two-week cleaning cadence as a commercial bar.
- Month three: the faucet and shank, once you know where you actually want the tap. Drilling the door is the one irreversible step in the whole conversion, so it is the right thing to do last.
- Later: a secondary manifold when you want two beers at two carbonation levels -- best CO2 regulators.
The picks, in order
Every pick in detail
#1
Best overall conversion kit
Mid tier
Complete Homebrew Kegging Starter Kit
Kegco / KOMOS / MoreBeer
This is the conversion kit in practice: a 5 gallon ball-lock corny, a dual-gauge regulator, a CO2 cylinder, gas and beverage line and disconnects. Deliberately excludes cooling, which is the part you are supplying from the appliance in your garage.
Spec sheet
- Keg
- One 5 gal ball-lock corny (new or reconditioned)
- Gas
- 5 lb CO2 cylinder (usually empty on arrival)
- Regulator
- Single-body dual-gauge
- Lines
- Gas line, beverage line, disconnects
- Dispense
- Picnic (party) tap on most kits
- Not included
- Cooling -- that is the kegerator decision
What it is not good at
The CO2 cylinder almost always ships empty, and the picnic tap it includes is a temporary dispense solution rather than a faucet.
Who it is for
Converting any fridge or freezer you already own
#2
Best first addition
Entry tier
5 Gallon Ball Lock Corny Keg
AMCYL / NSI
One keg means the system is empty between batches. A second 5 gallon ball-lock corny is the cheapest upgrade in kegging and the one every converted fridge needs within a month.
Spec sheet
- Capacity
- 5 gal / 19 L
- Height
- ~25 in (26 in with posts)
- Diameter
- ~8.5 in
- Connection
- Ball lock gas and liquid posts
- Pressure rating
- 130 psi typical, 55 psi working
- Lid
- Oval pry-out lid with a PRV
What it is not good at
About 25 inches tall, 27 with posts fitted, so measure your appliance before you buy a third and a fourth.
Who it is for
Anyone who brews more often than they drink five gallons
#3
Best regulator upgrade
Mid tier
Taprite Dual-Gauge CO2 Regulator
Taprite
Forged brass body, 0-60 psi output, one gauge for output pressure and one for tank contents, and rebuild kits are easy to find. The part you will still be using in ten years.
Spec sheet
- Gauges
- Dual -- output pressure and tank contents
- Output range
- 0-60 psi
- Inlet
- CGA-320 CO2 tank thread
- Outlet
- 1/4 in MFL or barb
- Body
- Forged brass
- Serviceable
- Rebuild kits widely available
What it is not good at
Single body, so independent pressures on separate kegs still need a secondary manifold downstream.
Who it is for
Kits that shipped a thin single-gauge regulator
#4
Best dispense upgrade
Mid tier
Intertap Stainless Forward-Sealing Faucet
Intertap
Forward sealing, so beer does not sit in the faucet shaft between pours, in 304 stainless with interchangeable spouts. The step that turns a conversion from a picnic tap into a real tap.
Spec sheet
- Seal type
- Forward sealing
- Material
- 304 stainless
- Spout
- Interchangeable (stout, growler)
What it is not good at
Needs a shank, a hole in the door or a tower, and a faucet wrench. The drilling is the commitment, not the faucet.
Who it is for
Through-door and tower installs on a converted fridge
#5
Best appliance to convert
Mid tier
Chest Freezer Fermentation Chamber (with controller)
Chest freezer + Inkbird
A chest freezer plus an external dual-stage controller is the cheapest cold box per keg available, and it holds serving temperature more cheaply than any upright because the cold air stays in when you open it.
Spec sheet
- Approach
- Chest freezer with an external dual-stage controller
- Capacity
- 5-7 cu ft fits one or two 5 gal fermenters
- Range
- Lager temps through a 32 F cold crash
- Heat side
- Pair with a wrap heater for winter ale temps
- Energy
- Cheapest running cost per degree of any method
- Limitation
- Vessel height is the binding constraint
What it is not good at
A chest freezer needs a collar or a tower to get faucets out at a usable height, which is a weekend of woodwork.
Who it is for
Brewers choosing the cabinet rather than converting what they own
FAQ
Questions brewers actually ask
What is in a kegerator conversion kit?
A keg, a CO2 regulator, a CO2 cylinder, gas and beverage line, ball-lock disconnects and usually a picnic tap. What is not in it: cooling, a faucet and shank, and on a chest freezer the collar needed to mount the faucet at a usable height. Those are separate purchases on every kit sold.
Can I turn any fridge into a kegerator?
Almost any, if the internal height clears a corny keg with posts and disconnects fitted, which is roughly 27 inches. Upright fridges are the simplest conversion. Chest freezers are cheaper to buy and run but need an external dual-stage controller to reach serving temperature rather than freezing, plus a collar for the faucets.
Does the CO2 tank come full in a conversion kit?
Almost never. Full cylinders are hazardous goods, so kits ship them empty. Line up a fill or exchange before build day -- welding gas suppliers, fire-extinguisher services, paintball shops and some homebrew shops all do it, and prices for the same five pounds vary widely.
Why does my converted kegerator pour nothing but foam?
Usually the beverage line is too short. The line has to drop pressure from serving pressure to near zero at the faucet through friction, and kits ship short line because it packs neatly. Lengthening the beverage line fixes most foaming without touching the regulator or the carbonation level.
Is a chest freezer better than a fridge for a conversion?
Cheaper to buy and cheaper to run, because cold air does not spill out of a box you open from the top. The trade is carpentry: faucets need to be at hand height, which means building a wooden collar or fitting a tower through the lid. An upright fridge needs no woodwork at all.
How many kegs should I buy to start?
Two. One keg means the system sits empty every time you drink through a batch, and the second keg is the cheapest upgrade in kegging. Check your internal height before going past two, since each corny needs about 27 inches of clearance with posts and disconnects fitted.
Read next
More on kegging
Roundup
The Best Homebrew Keg Systems
What a kegging kit includes, what it omits, and the complete cost.
Roundup
The Best Beer Faucets
Beer faucets ranked on seal type, material, flow control and spout options.
Comparison
Kegerator vs Keezer: Which Should You Build?
Kegs per dollar, insulation and build effort, compared properly.

Guide
Beer Line Length
Why short line foams, how much resistance each tubing type gives, and the length to cut.
Guide
Homebrew Kegging Setup, Step by Step
The setup order, plus the three day-one failures and how to avoid them.