The signature guide
The Homebrew Upgrade Path
Six stages, in order of what each one actually returns. Most brewers work through this list roughly backwards, which is why so many people own a 240V brewing system and still ferment in a closet.
The short answer
Upgrade in this order: fermentation temperature control, then a grain mill, then kegging, then a pressure-capable fermenter, then a brewing system, then glycol. Temperature control first because it is the only step that changes how the beer tastes rather than how consistently you make it.
DisclosureWe earn a commission on qualifying purchases made through links on this page, at no extra cost to you. It does not change what we recommend -- here is how we pick.
The principle
Rank by return per dollar, not by price
Homebrewing equipment is usually discussed by category -- which kettle, which fermenter, which system -- which hides the only question that matters when you have a few hundred dollars and a hobby you are enjoying: what do I buy next?
The honest answer is counterintuitive, because the cheapest item on the list is also the one with the largest effect on the beer. That ordering is what this page is for, and it is the thing no competitor page lays out: the content farms write flat “best X” lists aimed at beginners, and the authority sites cover process rather than purchases.
The sequence, and what each step actually buys
| Stage | What you buy | What it changes |
|---|---|---|
| 1 | Fermentation temperature control | How the beer TASTES |
| 2 | A grain mill | Efficiency and ingredient cost |
| 3 | Kegging | Two hours per batch, and oxygen |
| 4 | A pressure-capable fermenter | Hop aroma retention |
| 5 | A brewing system | Consistency and brew day length |
| 6 | Glycol, or a bigger vessel | Removes the chamber constraint |
An orange rule marks the better of the two on that row.
Stage 1
Fermentation temperature control
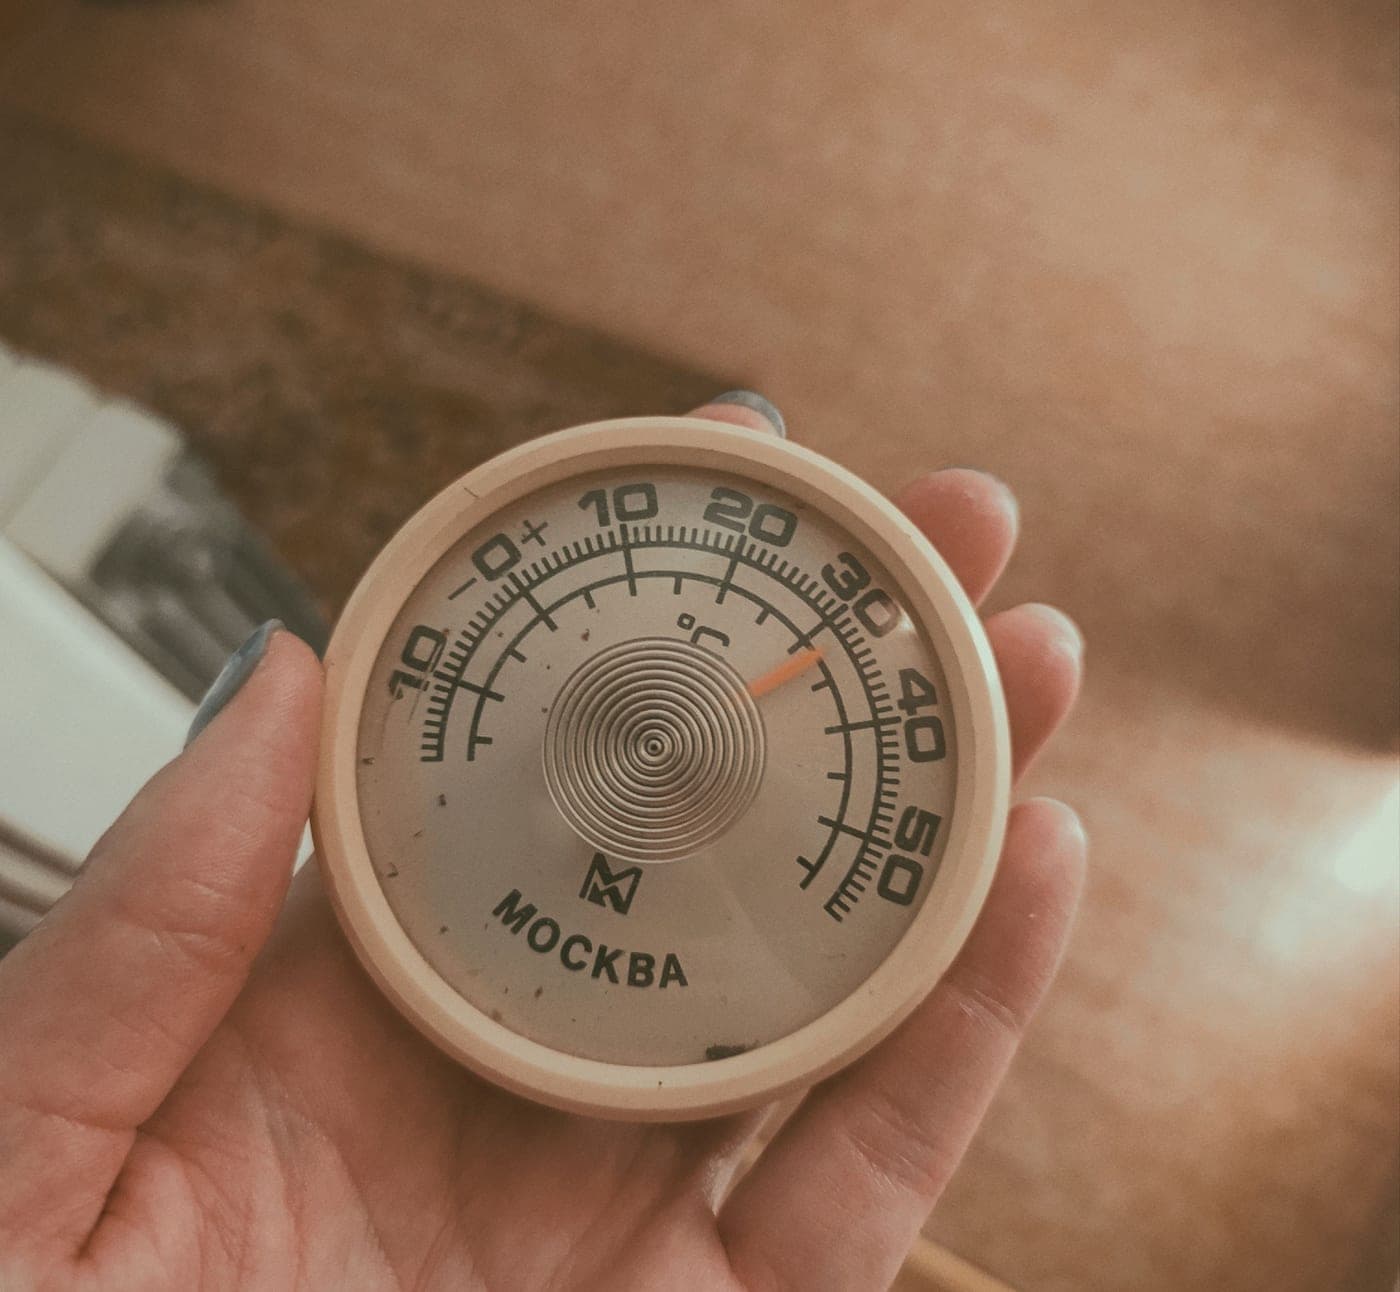
If you read nothing else here, read this. Fermentation temperature determines which flavor compounds yeast produces, and it does so more decisively than your mash profile, your water chemistry, your kettle or your vessel.
Yeast run warm makes fruity esters and harsh, solvent-like fusel alcohols. Yeast run cold under-attenuates or stalls. And active fermentation generates its own heat -- four to six degrees above the surrounding air -- so a fermenter in a 72°F room is internally closer to 78°F during the two days when most of its flavor is being decided.
That specific combination is the flavor beginners describe as “it tastes homemade.” It is a temperature problem, not a skill problem, and it is the cheapest thing on this page to fix.
- What to buy: a dual-stage controller and any used fridge or chest freezer. See best temperature controllers and best fermentation chambers.
- The detail that makes it work: tape the probe to the fermenter under insulation. A probe in the air reports the air, and the air lies by several degrees.
- Build it yourself: DIY fermentation chamber is an afternoon.
Stage 2
A grain mill (if you brew all-grain)
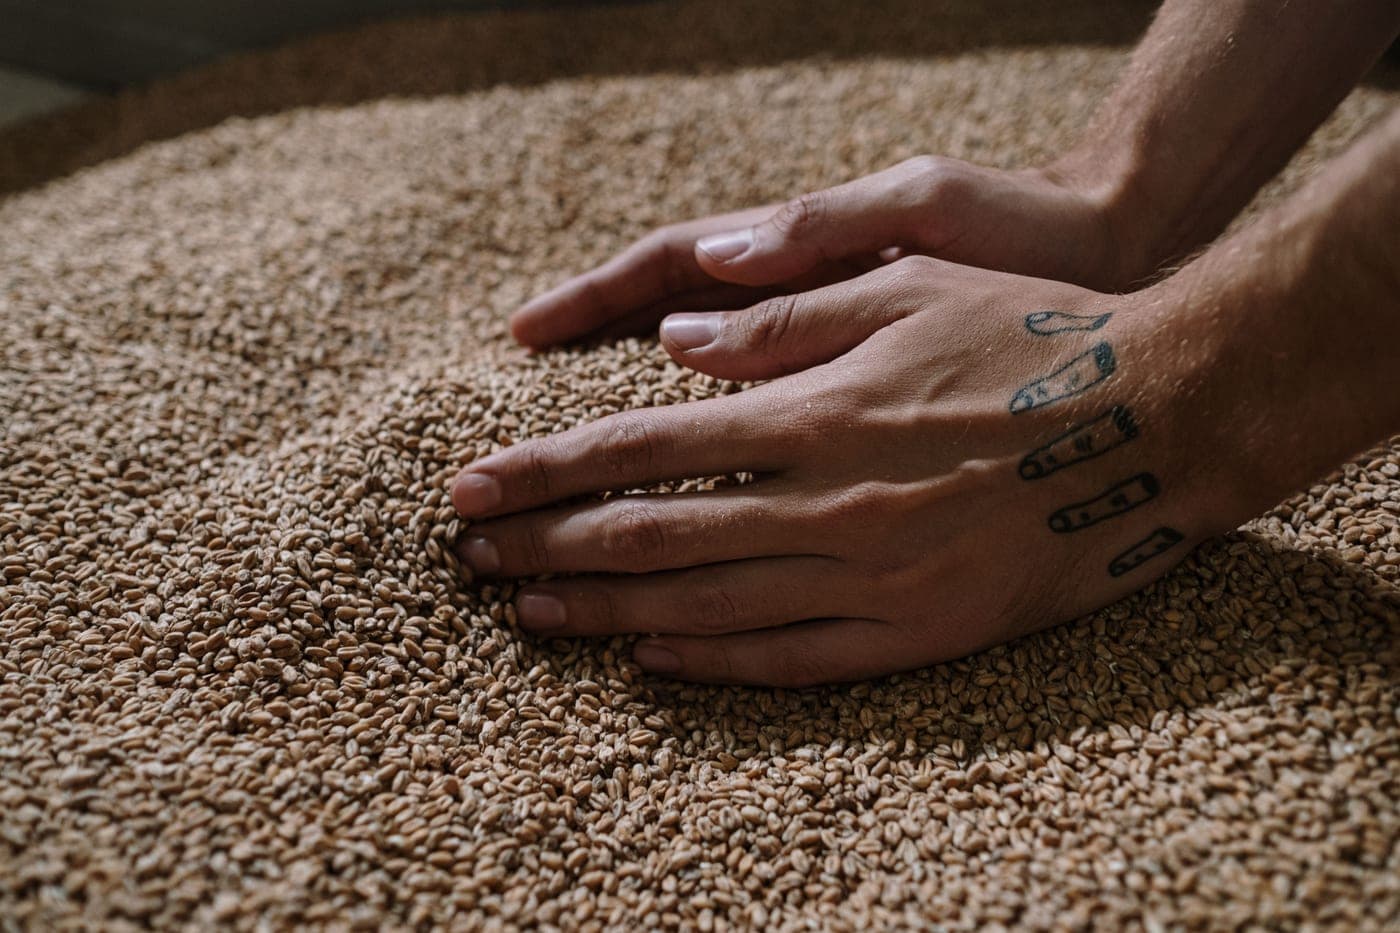
The best value per dollar on the hot side, and it is not close. A homebrew shop crushes to one gap chosen to be safe across every customer’s process, which is almost never optimal for yours. Setting your own gap is commonly worth several points of mash efficiency -- more than the difference between brewing systems costing hundreds apart.
It also lowers your ingredient cost permanently, because whole grain in sacks is considerably cheaper than pre-crushed by the pound, and milling on brew day preserves aroma that starts dissipating within days of crushing.
See best grain mills, and gap settings for the numbers in thousandths. If you are still on extract, skip this stage and read all-grain vs extract instead.
Stage 3
Kegging
This is the stage brewers wish they had reached sooner, and it earns its place for two separate reasons.
Time. Bottling a 5 gallon batch is roughly two hours of standing work -- sanitizing fifty bottles, filling, capping, then washing fifty bottles before the next batch -- plus two weeks of conditioning. Kegging is twenty minutes and one vessel to clean. Over a year of monthly brewing that is twenty hours back.
Oxygen. Bottling exposes beer to air twice, in the transfer and in every bottle’s headspace. A keg purged with CO2 does neither, which sets up stage four.
Budget honestly: a kegging kit covers the dispense side only and not the cooling, which is the larger half of the real cost. See kegging vs bottling, best homebrew keg systems and kegerator vs keezer.
Stage 4
A pressure-capable fermenter
This is the stage most upgrade advice gets wrong, because the obvious purchase at this point is a conical fermenter and the correct one usually is not.
A cone gives you trub dumping and bottom yeast harvesting -- real, useful, and primarily convenience. A pressure rating gives you closed transfer: pushing beer to a purged keg under CO2 so it never meets air at all. On a hoppy beer that is the single largest quality improvement available to a homebrewer, because oxygen degrades hop aroma faster than any other variable.
So if you keg and you brew hoppy beer, buy the pressure rating before the cone. A FermZilla with its pressure kit does it for less than a non-pressure stainless conical costs.
- Best pressure fermenters -- the rated vessels, and what the kit really costs
- Pressure fermentation explained -- the mechanism, and what it cannot fix
- Conical vs bucket -- what a cone adds, honestly
- Fermenting in a keg -- the cheapest route, if you own spare kegs
Stage 5
A brewing system
Now. Not first -- and this is where most brewers actually start, which is why so many people own a capable 240V system and still ferment in whatever temperature the garage happens to be.
An electric all-in-one is a genuine upgrade: it holds mash temperature without supervision, recirculates to clarify the wort, and turns an improvised brew day into a scheduled one. What it improves is consistency, and consistency is valuable precisely once the variables that determine flavor are already controlled.
There is also a practical argument for buying it at stage five rather than stage one: by now you know what you want from it. Which voltage you can realistically have, which capacity you actually brew, whether you ever step mash. Those three answers determine the purchase and none of them is obvious on batch three.
See best electric brewing systems, the three-way comparison and generations explained -- which revision you buy matters more than the brand.
Stage 6
Glycol, or a bigger vessel
The prosumer stage, and it is driven by a constraint rather than a desire. At some point the vessel you want does not fit the cooling you have: a welded conical with a full cone and a stand is taller than a 5 cubic foot chest freezer is deep.
A glycol loop cools the vessel wall directly rather than cooling a box of air, so height stops mattering entirely, several vessels can run at different setpoints from one chiller, and a crash cool takes hours instead of a day.
It is also expensive to buy and to run, and most homebrewers never need it. Read glycol chiller vs fermentation fridge before committing, and note that a cooling coil in a regular conical gets you most of the benefit for a fraction of the vessel cost.
Skip these
Four things people buy far too early
- A plate chiller. Fast, compact, and it will block solid on your first heavily hopped beer without containment upstream. Start with an immersion coil -- chiller types compared.
- A pH meter. A real tool, and only once crush, temperature and fermentation are consistent enough that water chemistry is the limiting factor. Before then it is a number with no action attached, plus calibration solutions to maintain.
- A non-pressure conical. The classic mis-step: a convenience upgrade bought instead of either temperature control or a pressure rating, both of which do more.
- A glass carboy. Still sold as premium and still the wrong choice for beer: 60 pounds when full, no handle, fails without warning, and impossible to clean properly through the neck.
Where next
The six hubs, in upgrade-path order
Each hub covers one weakness you might be upgrading, with roundups, head-to-heads, reviews and guides inside it. They are listed here in the order this page recommends working through them.
Category
Brewing Systems
All-in-one electric systems, all-grain rigs and the generation differences nobody else explains.
Category
Fermenters
Stainless vs plastic conicals, pressure fermentation, and the vessels worth upgrading to.
Category
Kegging
Kegerators, keezers, corny kegs, regulators and the setup guides that make them work.
Category
Temperature Control
Glycol chillers, wort chillers, fermentation chambers, controllers and monitoring.
Category
Wine & Mead
Mead and wine kits, the fermenters nobody writes about, and what transfers from beer brewing.
Category
Brew Day Gear
Grain mills, kettles, hop handling, mash hardware and the cheap wins people skip.
FAQ
Upgrade questions brewers actually ask
What should I upgrade first in homebrewing?
Fermentation temperature control -- a dual-stage controller and any used fridge or freezer. It is the cheapest meaningful upgrade available and the only one that changes how your beer tastes rather than how consistently you make it, because fermentation temperature governs the flavor compounds yeast produces.
Should I buy a brewing system or a conical fermenter first?
Neither, until temperature control is sorted. After that, the answer depends on how you package: if you keg, a pressure-capable fermenter that supports closed transfer beats both, because oxygen pickup during transfer is what dulls hop aroma. If you bottle, a brewing system improves consistency and a conical mostly improves convenience.
Is a conical fermenter worth it?
It is worth it if you harvest yeast, want to dump trub mid-fermentation, or want closed transfer from a pressure-rated model. It is not worth it purely for beer quality: a bucket held at a steady 66 degrees Fahrenheit produces better beer than a stainless conical in a 76 degree garage.
When should I switch from bottling to kegging?
When bottling day has stopped being fun, which for most brewers is around batch ten. Kegging replaces about two hours of work per batch plus two weeks of conditioning with twenty minutes and a gas line, and it enables closed transfer, which is the largest single quality improvement available on hoppy beer.
Do I need a glycol chiller?
Almost certainly not. A chest freezer with a dual-stage controller holds a setpoint within a degree for a fraction of the cost. Glycol earns its place in three specific situations: your fermenter is too tall for any chamber you can fit, you run several vessels at different temperatures, or you crash cool every batch and want it fast.
What homebrewing equipment do people buy too early?
Plate chillers, which clog on hoppy beer without hop containment upstream; pH meters, which give you a number before your process is stable enough to act on it; conical fermenters bought instead of temperature control; and large brewing systems bought before the cheaper wins are banked.
Also useful