Guide
Glycol Chiller Installation, Step by Step
The chiller is the easy part. Getting the loop, the mix and the per-vessel control right is what decides whether it holds a setpoint or runs non-stop.
The short answer
Install a glycol chiller by siting it where warm exhaust air can escape, plumbing insulated lines to each vessel's jacket or coil, filling the reservoir with a propylene glycol and water mix at the manufacturer's percentage, purging air before the glycol goes in, and controlling each vessel with its own thermowell probe and solenoid valve rather than the chiller setpoint alone.
DisclosureWe earn a commission on qualifying purchases made through links on this page, at no extra cost to you. It does not change what we recommend or how we rank it -- here is how we pick and here is the full disclosure.
What a working loop needs
| Component | Why | Skip it and |
|---|---|---|
| Chiller with reservoir pump | Chills and circulates the glycol | Nothing moves |
| Propylene glycol | Food-safe freeze protection | The chiller can freeze solid |
| Insulated supply and return lines | Keeps capacity in the loop | You cool the room and the lines sweat |
| Jacket or internal coil | Something for glycol to flow through | There is nothing to connect to |
| Thermowell per vessel | Reads beer, not air | You control the wrong temperature |
| Controller + solenoid per vessel | Independent setpoints | Every vessel gets one temperature |
Before you start
What a glycol loop actually consists of
A glycol install is four separate systems that people tend to buy as one: the chiller and its reservoir, the plumbing between reservoir and vessels, something on each vessel for the glycol to flow through, and a control layer that decides when glycol reaches each vessel. Skip any one of them and the result is a chiller that runs constantly while the beer sits at the wrong temperature.
Before going further, make sure this is the right purchase at all. For a single five-gallon fermenter that fits in a chest freezer, a dual-stage controller and a used freezer hold a setpoint just as well for a fraction of the money and the running cost. The honest comparison is in glycol chiller vs fermentation fridge, and the sizing question -- which capacity for how many vessels -- is in best glycol chillers.
This guide assumes you have decided, and covers the install itself.
One thing to have on hand before the first batch: an internal cooling coil is another wetted surface, so the cleaning and sanitizing routine matters more on a coiled vessel than a jacketed one -- the products and dose rates are in best homebrew cleaners and sanitizers.
Before plumbing anything, make sure the unit has the capacity for the vessels you will actually run -- what size glycol chiller do you need.
Step 1
Siting the chiller
A glycol chiller is a refrigeration unit. It does not destroy heat; it moves heat out of the glycol and dumps it into the air around the condenser. That single fact drives every siting decision.
- Give it clearance and an exhaust path. In a sealed cupboard it heats the air it is trying to reject heat into, the condenser inlet temperature climbs, and capacity collapses. Follow the manufacturer clearances and make sure warm air can leave the space.
- Keep line runs short. Every foot of line is surface area losing cooling to the room, and every foot adds pressure drop for the pump to overcome. Site the chiller near the vessels, not across the garage.
- Plan for a drain and spills. Glycol gets topped up, lines get disconnected, and fittings weep. Put the unit somewhere a puddle is not a problem, and not on a surface you care about.
- Account for noise. A compressor plus a circulation pump cycling through the night is audible. A garage or utility space is a better neighbor than a room next to a bedroom.
Step 2
Plumbing the loop
The standard homebrew arrangement is a submersible pump in the reservoir pushing glycol out through a supply line to the vessels, with a return line dropping back into the same reservoir. Use the tubing size the chiller and jacket fittings are built for -- undersized tubing throttles flow and the vessel at the end of the run never gets cold.
Insulate everything. Foam pipe insulation on every run of supply and return is not optional. Uninsulated lines lose capacity along their whole length and sweat condensation onto the floor. This is the cheapest part of the install and the one most often skipped.
Run vessels in parallel, not in series. Plumbed in series, the first vessel gets cold glycol and every vessel after it gets whatever is left, so setpoints drift apart and the last vessel may never arrive. A manifold that feeds each vessel from the supply line and returns each one separately gives every vessel the same inlet temperature.
Keep the return above the reservoir liquid level. The return should drop into the reservoir rather than siphon, and the reservoir should not be filled to the brim -- when the pump stops, glycol standing in the vessel jackets and lines drains back, and an over-full reservoir overflows. Leaving headroom is the fix.
Step 3
Mixing and charging the glycol
Concentration is the number people guess at, and guessing in either direction causes a specific failure. Too little glycol and the solution can freeze inside the chiller, which is how evaporators rupture. Too much and the mixture gets viscous, pumps poorly and transfers heat less efficiently. Penguin Chillers, as one published example, specifies a 35 to 40 percent glycol-to-water mix for brewing service -- use whatever percentage your own manufacturer publishes.
- Use propylene glycol, not automotive antifreeze. Ethylene glycol is toxic. Propylene glycol is the food-safe version every brewing supplier sells, and it is what belongs anywhere near a fermenter.
- Purge the air out first. Circulate water through the assembled loop and get the air out before glycol goes in. Commercial chiller documentation is emphatic about this, because air pockets leave sections of the loop uncirculated and make the real concentration impossible to know.
- Charge to the published percentage. Work out the glycol volume from your total system volume -- reservoir plus lines plus jackets -- multiplied by the target concentration, then mix with distilled or low-mineral water rather than hard tap water.
- Circulate to blend. Run the pump for fifteen to thirty minutes before trusting any reading. Freshly poured glycol stratifies, and a sample taken immediately tells you nothing.
- Submerge the pump and keep the evaporator covered. Top the reservoir up so the pump and the chiller's cooling coil stay under the liquid, while leaving the headroom described above for drain-back.
- Verify, do not calculate. Check the mixed solution with a refractometer rather than trusting the arithmetic, and re-check it any time you add water to the system.
Step 4
Controlling each vessel
The chiller controls its own reservoir temperature. It knows nothing about your beer. If you plumb glycol straight through a jacket with no control layer, the vessel chases the reservoir temperature, which is far colder than any fermentation setpoint.
The standard answer is one temperature controller and one solenoid valve per vessel. The controller's probe sits in the vessel's thermowell, reading the beer rather than the air or the jacket. When the beer rises above setpoint, the controller energizes the solenoid on that vessel's glycol inlet, glycol flows, and the valve closes again when the setpoint is met. One chiller, several vessels, independent setpoints -- which is the whole reason to own glycol rather than a chamber.
A dual-stage controller is the usual choice because the same unit can switch a heat source on the other outlet for cold-garage winters. The controller options and their differences are in best temperature controllers, and the general principles of holding a fermentation setpoint are in fermentation temperature control.
Two placement rules matter more than the brand of anything. Put the probe in a thermowell, not taped to the outside of the vessel under insulation -- a jacketed wall is the coldest part of the system and reads several degrees below the beer. And insulate the vessel itself if it is not already jacketed in neoprene, because an uninsulated vessel in a warm room makes the loop work continuously.
Step 5
Commissioning checklist
- Leak test with water. Run the loop on plain water first and watch every fitting for an hour. Finding a weeping connection before there is glycol in the system is worth the extra hour.
- Confirm flow at every vessel. With the manifold open, each branch should flow. A vessel that is not flowing is a vessel that will not cool, and it is easier to find now than during a fermentation.
- Check the mixed concentration. Refractometer, after circulating, before the first real batch.
- Set the chiller, then set the vessels. The reservoir setpoint sits below your coldest intended beer temperature; each vessel controller holds its own beer setpoint through its solenoid.
- Pull down an empty vessel full of water. A dry run with water tells you how long a crash actually takes on your system, which is the number worth knowing before you need it.
- Check the room after an hour of running. If the space the chiller sits in is noticeably warmer, your exhaust path is not good enough and capacity is already being lost.
Troubleshooting
What usually goes wrong
- Chiller runs constantly, never reaches setpoint. Usually undersized capacity, an uninsulated vessel or lines, or a strangled exhaust path. Check insulation and airflow before blaming the unit.
- One vessel never gets cold. Series plumbing, a closed or failed solenoid, an air pocket, or a line undersized for the run.
- Reservoir overflows when the pump stops. Filled too high. Glycol standing in the jackets and lines drains back; leave headroom.
- Ice inside the chiller. Glycol diluted below the published percentage, often from topping up with water. Re-check the concentration.
- Beer reads colder than the controller setpoint. Probe is reading the jacket or the vessel wall rather than the beer. Move it into a thermowell.
What we recommend
The products on this page
Prosumer tier
Penguin Chillers Glycol Chiller
Penguin Chillers
A quarter-horsepower unit with a submersible reservoir pump and a digital setpoint is the usual homebrew starting point, and the manufacturer publishes a glycol percentage to mix to -- which is the number most DIY installs guess at.
Spec sheet
- Capacity
- 1/4 HP and larger units sold
- Medium
- Propylene glycol / water mix
- Pump
- Submersible pump in the reservoir
- Control
- Digital setpoint on the chiller
- Vessels served
- Typically 1-2 jacketed or coiled fermenters
- Ambient
- Needs airflow and a warm-air escape path
What it is not good at
It rejects its heat into the room it sits in, so a cupboard install strangles it. Running cost is real and ongoing, not a one-time purchase.
Who it is for
One or two jacketed or coiled fermenters
Prosumer tier
KegLand IceMaster Glycol Chiller
KegLand
An integrated reservoir and recirculating loop designed around one fermenter ecosystem, which removes most of the plumbing decisions below.
Spec sheet
- Loop
- Recirculating glycol
- Reservoir
- Integrated
- Pairing
- FermZilla / KegMenter cooling
What it is not good at
Lower capacity than a 1/4 HP unit, so it is a one-vessel install rather than a manifolded multi-vessel one.
Who it is for
A single FermZilla or KegMenter cooling loop
Prosumer tier
Spike Brewing CF5 Conical Fermenter
Spike Brewing
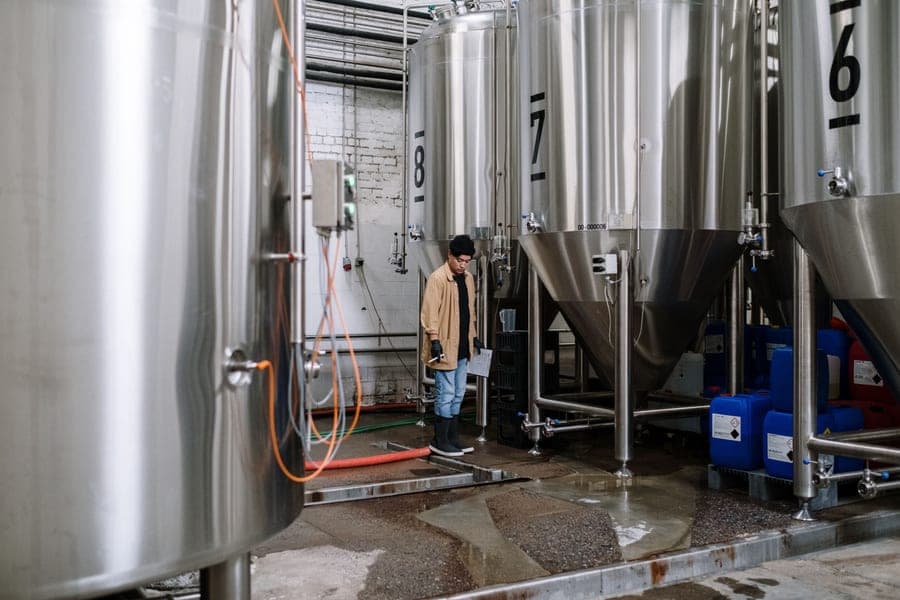
A welded conical with the optional internal cooling coil is the cheapest route to a glycol-ready vessel, because the coil is factory-fitted rather than retrofitted.
Spec sheet
- Capacity
- 8 gal / 30 L (5 gal batch)
- Material
- Welded 304 stainless, no crevices
- Pressure
- Rated for pressure transfer and spunding
- Ports
- Tri-clamp throughout
- Cone
- Full cone with a dump valve
- Options
- Cooling coil, thermowell, CIP arm
What it is not good at
The coil is an option you specify at order time, and it sits inside the beer, so it is one more surface to clean and sanitize every batch.
Who it is for
A conical you want cooled directly, without a chamber
Prosumer tier
Ss Brewtech Unitank
Ss Brewtech
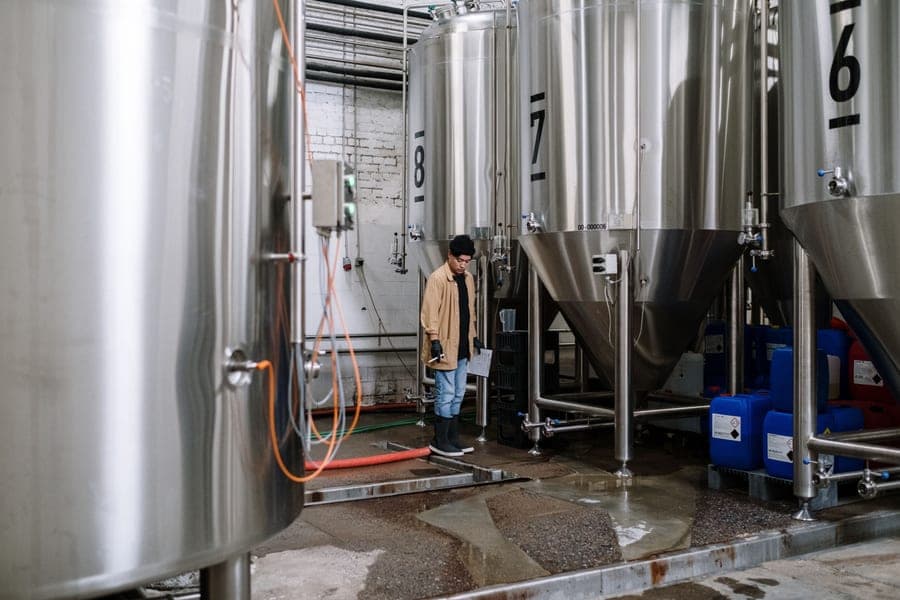
A welded cylinder jacket is the install the whole technique was designed around: glycol runs in a channel in the wall, so there is nothing extra inside the vessel.
Spec sheet
- Capacity
- Half barrel (0.5 bbl) and larger
- Pressure
- Rated vessel with a pressure relief valve
- Cooling
- Glycol jacket, no chamber needed
- Ports
- Tri-clamp, thermowell, carb stone port
- Process
- Ferment, carbonate and serve from one vessel
- Footprint
- Needs floor space and a glycol loop
What it is not good at
A prosumer-priced vessel that still needs the chiller, the lines and the control gear bought separately, and it needs floor space plus a glycol loop to be useful at all.
Who it is for
A jacketed vessel where the glycol never touches beer
Entry tier
Inkbird ITC-308 Dual-Stage Temperature Controller
Inkbird
The cheap part that makes a multi-vessel loop work: the controller reads the vessel thermowell and switches a solenoid valve on the glycol inlet, so each fermenter holds its own temperature from one chiller.
Spec sheet
- Stages
- Dual -- one heating and one cooling outlet
- Outlet rating
- ~1100W per outlet
- Probe
- NTC sensor on a 2 m lead
- Calibration
- User offset
- Compressor delay
- Configurable
- Wifi version
- ITC-308 Wifi sold separately
What it is not good at
It switches a mains outlet, so you need a mains-voltage solenoid valve to pair with it, and its probe must sit in a thermowell rather than taped to the outside of the vessel.
Who it is for
Giving each vessel its own independent setpoint
FAQ
Questions brewers actually ask
What percentage of glycol should a homebrew chiller run?
Use the percentage your chiller manufacturer publishes. Penguin Chillers, for example, specifies a 35 to 40 percent glycol-to-water mix for brewing service. Too little glycol risks the solution freezing inside the chiller and rupturing the evaporator; too much makes the mixture viscous so it pumps poorly and transfers heat less efficiently.
Can I use automotive antifreeze in a brewing glycol chiller?
No. Automotive antifreeze is ethylene glycol, which is toxic. Brewing loops use propylene glycol, the food-safe alternative that every brewing supplier sells. Mix it with distilled or low-mineral water to the concentration the chiller manufacturer specifies, and verify the result with a refractometer rather than trusting the calculation.
Do I need to insulate glycol lines?
Yes. Uninsulated supply and return lines lose cooling capacity to the room along their entire length and sweat condensation onto the floor. Foam pipe insulation on every run is inexpensive and makes a measurable difference to how hard the chiller has to work, which is why it belongs in the original install rather than as a later fix.
Should fermenters be plumbed in series or parallel?
Parallel, from a manifold. In series, the first vessel receives cold glycol and each vessel downstream receives whatever cooling is left, so setpoints drift apart and the last vessel may never reach temperature. Feeding each vessel separately from the supply line and returning each separately gives every vessel the same inlet temperature.
How do I control two fermenters at different temperatures from one chiller?
Give each vessel its own temperature controller and solenoid valve. The controller probe sits in that vessel's thermowell and opens the solenoid on its glycol inlet when the beer rises above setpoint. The chiller only maintains the reservoir temperature, so the per-vessel control layer is what creates independent setpoints.
Where should the temperature probe go?
In a thermowell that reaches into the beer. A probe taped to the outside of a jacketed vessel reads the coldest part of the system and will sit several degrees below the actual beer temperature, so the controller shuts off the glycol early and fermentation runs warmer than you think.
Sources
- Penguin Chillers propylene glycol -- published 35-40 percent mix for brewing
- Legacy Chillers -- adding glycol to a chiller loop, air purging and freeze-point verification
- Legacy Chillers -- glycol reservoir fill levels and pump submersion
- Ss Brewtech Unitank 2.0 -- welded cylinder glycol jacket and thermowell specification
Read next
More on temperature control
Roundup
The Best Glycol Chillers for Homebrewing
Glycol chillers sized for homebrewing, and when a freezer is the better buy.
Guide
How Glycol Chillers Work
The loop explained, why propylene glycol, and the three installation mistakes.
Comparison
Glycol Chiller vs Fermentation Fridge
Air cooling against direct wall cooling, and when the upgrade is justified.
Guide
DIY Glycol Chiller: How to Build One, and Whether You Should
The freezer-and-reservoir build, the parts list, and the honest case for buying instead.
Comparison
Conical Fermenter vs Unitank
What the glycol jacket and pressure rating add, and whether you need them.
Roundup
The Best Wort Chillers
Immersion, counterflow and plate chillers compared on the trades that matter.