Guide
How to Pressure Ferment Beer
The practical sequence: what to buy, when to apply pressure, and how to get the beer out without it meeting air.
The short answer
Fit a spunding valve to a rated vessel, pitch and let fermentation start at atmospheric pressure for the first 12 to 24 hours, then set the spunding valve to 10 to 15 psi and let the yeast build pressure itself. At the end, cold crash sealed and push the beer to a CO2-purged keg through a liquid-to-liquid jumper.
DisclosureWe earn a commission on qualifying purchases made through links on this page, at no extra cost to you. It does not change what we recommend or how we rank it -- here is how we pick and here is the full disclosure.
What you need
Four items, and none is optional
- A vessel explicitly rated for pressure. A FermZilla with its pressure kit, a KegMenter, a Spike CF conical, or a unitank. Not a Brew Bucket, not a bucket with a modified lid. This is a safety requirement, not a preference.
- A spunding valve. An adjustable pressure relief valve, usually with a gauge. You set it to your target pressure and it vents anything above that. Without one, a sealed vessel has no relief path and will reach its limit.
- Ball lock posts and disconnects on the vessel, plus a liquid-to-liquid jumper line for the transfer.
- A CO2 supply with a regulator. You need it to purge the receiving keg and to push the transfer across.
Step 1
Let fermentation start at atmospheric pressure
Pitch as normal and leave the vessel vented -- spunding valve wide open or set very low -- for the first 12 to 24 hours. Yeast needs an unrestricted start to multiply, and applying pressure immediately suppresses the growth phase you actually want.
You will see krausen begin and the vessel start producing gas steadily. That is your cue.
Step 2
Set the spunding valve to 10-15 psi
Once fermentation is clearly active, set the spunding valve to your target. The yeast then pressurizes the vessel itself: CO2 accumulates until it reaches the setpoint, and the valve vents the excess.
You do not apply pressure from the gas bottle. The fermentation provides it. The spunding valve is a ceiling, not a pump.
- 10-12 psi for a clean ale fermented a little warm, or a first attempt.
- 12-15 psi for a lager yeast fermenting at ale temperatures, where you want maximum ester suppression.
- Above 15 psi gains nothing and starts costing attenuation and speed.
Step 3
Hold temperature as usual
Pressure widens the usable temperature window; it does not remove the need for a setpoint. Pick a temperature, hold it, and remember that the probe should read the beer rather than the air -- fermentation temperature control covers probe placement, which matters more than controller accuracy.
Pressure-fermented beers finish fast. Check gravity by sampling through the liquid post or reading a floating sensor; a flat curve for 48 hours is the signal.
Step 4
Cold crash -- sealed, which is the whole point
Drop to 32-38°F for 48 hours to pull yeast and protein out of suspension. On a pressure-rated vessel you simply leave it sealed under its residual pressure.
This is one of the clearest advantages of a rated vessel. An airlocked vessel cooling from 65°F to 34°F contracts, and it equalizes by drawing room air -- and airlock sanitizer -- back in through the airlock, introducing oxygen to finished beer at the moment it is most vulnerable. A sealed vessel under positive pressure cannot do that.
Step 5
Closed transfer to a purged keg
- Purge the keg. The thorough method: fill the keg with sanitizer, seal it, and push the sanitizer out through the liquid post with CO2. The keg is then full of CO2 with no oxygen left. The quick method -- pressurize and vent several times -- is less complete but much better than nothing.
- Connect liquid to liquid. A jumper line with a ball lock disconnect at each end, from the fermenter’s liquid post to the keg’s liquid post.
- Vent the keg’s gas post slightly, or run a line from it back to the fermenter’s gas post. The beer flows from higher pressure to lower.
- Control the rate. Slow is better. A fast transfer foams, and foaming in the receiving keg is lost carbonation and turbulence you do not want.
- Stop when the flow changes. On a coned vessel you will see or hear it switch from beer to sediment.
The mechanism behind all of this is in pressure fermentation explained. If you do not have a keg setup yet, start with homebrew kegging setup, and if you want to ferment in the keg itself, fermenting in a keg.
What we recommend
The products on this page
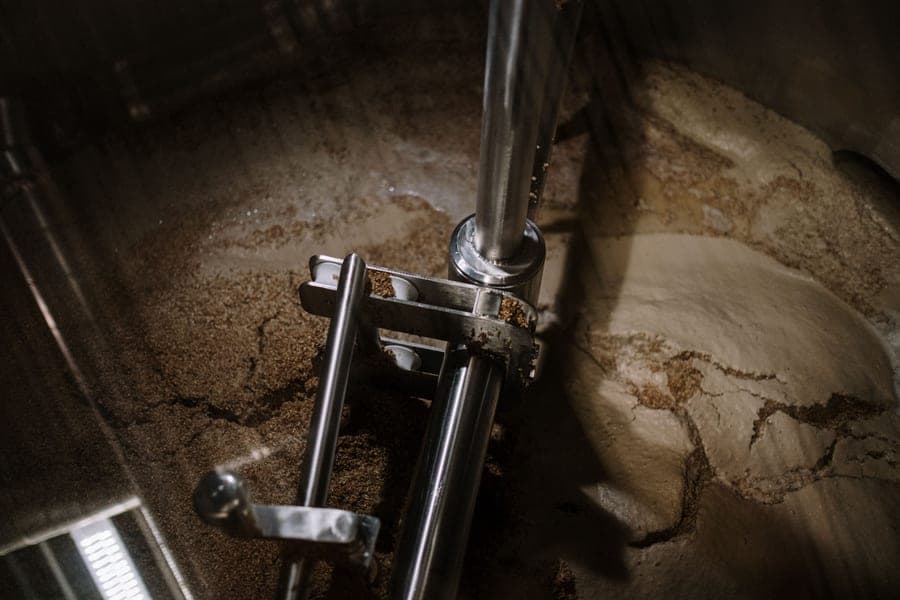
The vessel
Mid tier
FermZilla All Rounder 30 L
KegLand
Rated with its kit, clear so you can watch, and cylindrical so it fits a chamber. Buy the pressure kit with it, not later.
Spec sheet
- Capacity
- 30 L / 7.9 gal
- Shape
- Cylindrical (no cone)
- Pressure rating
- Rated for pressure fermentation with the pressure kit
- Material
- Clear PET
- Ports
- Ball lock posts, 4 in tri-clover lid option
- Weight
- Light enough to lift full-handed
What it is not good at
Pressure-capable rather than pressure-equipped; the lid, posts and spunding valve are separate.
Who it is for
A first pressure fermentation setup
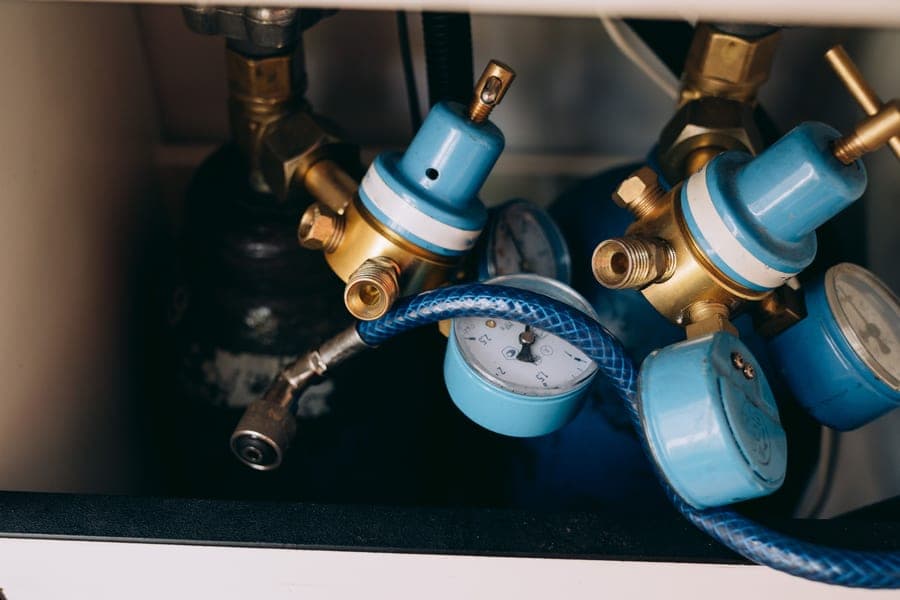
The gas supply
Mid tier
Taprite Dual-Gauge CO2 Regulator
Taprite
You need regulated CO2 to purge the receiving keg and to push the transfer. A dual-gauge regulator shows both output pressure and how much gas you have left.
Spec sheet
- Gauges
- Dual -- output pressure and tank contents
- Output range
- 0-60 psi
- Inlet
- CGA-320 CO2 tank thread
- Outlet
- 1/4 in MFL or barb
- Body
- Forged brass
- Serviceable
- Rebuild kits widely available
What it is not good at
The CO2 cylinder is usually sold empty and needs filling or exchanging locally.
Who it is for
Purging kegs and pushing transfers
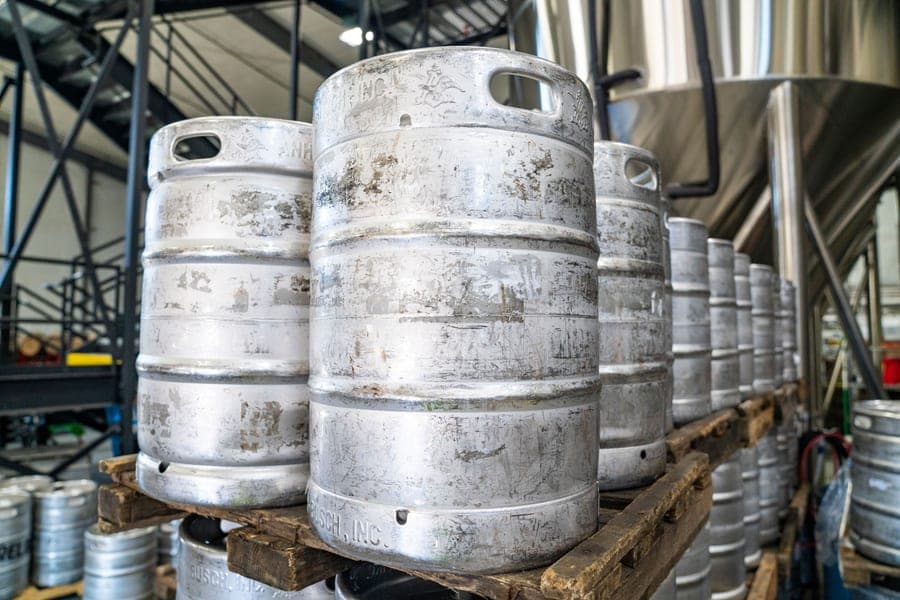
Where the beer goes
Entry tier
5 Gallon Ball Lock Corny Keg
AMCYL / NSI
A ball-lock corny keg is the standard target: purge it with CO2, connect liquid post to liquid post, and the beer never meets air.
Spec sheet
- Capacity
- 5 gal / 19 L
- Height
- ~25 in (26 in with posts)
- Diameter
- ~8.5 in
- Connection
- Ball lock gas and liquid posts
- Pressure rating
- 130 psi typical, 55 psi working
- Lid
- Oval pry-out lid with a PRV
What it is not good at
Needs cooling to serve from. Check the internal height of your kegerator before buying kegs.
Who it is for
Receiving a closed transfer
FAQ
Questions brewers actually ask
When should I apply pressure during fermentation?
After the first 12 to 24 hours, once fermentation is clearly active. Yeast needs an unrestricted growth phase to multiply properly, and applying pressure immediately suppresses exactly the activity you want early on. Leave the spunding valve open or very low at first, then set it to your target once krausen has formed and the vessel is gassing steadily.
What is a spunding valve and do I need one?
It is an adjustable pressure relief valve, usually with a gauge, that you set to a target pressure and that vents anything above it. You need one: a sealed fermenter with no relief path will keep building pressure until it reaches its limit, and improvising with a fixed PRV set by guesswork is how people damage vessels. It is the one component that is genuinely not optional.
How do you purge a keg with CO2 before a closed transfer?
The thorough method is to fill the keg with sanitizer, seal it, and push all the sanitizer out through the liquid post using CO2. That leaves the keg completely full of CO2 with no oxygen remaining. The quicker method is to pressurize and vent several times, which is less complete but still far better than transferring into an air-filled keg.
Do I need to pressurize the fermenter from the CO2 bottle?
Not during fermentation. The yeast produces more than enough CO2 to pressurize the vessel itself, which is why the spunding valve acts as a ceiling rather than a pump. You do need gas from the bottle for two things: purging the receiving keg beforehand, and pushing the last of the beer across if fermentation pressure has dropped.
Why is cold crashing better in a pressure fermenter?
Because the vessel stays sealed. Beer contracts as it cools, and an airlocked vessel equalizes by drawing room air and airlock sanitizer back in through the airlock, which introduces oxygen to finished beer at its most vulnerable moment. A sealed vessel under residual positive pressure physically cannot do that.
Read next
More on fermenters
Guide
Pressure Fermentation, Explained
The actual mechanism, the psi to use, and what pressure cannot fix.
Roundup
The Best Pressure Fermenters
Genuinely rated pressure vessels, and what the working kit really costs.
Guide
Fermenting in a Keg
The headspace maths, the floating dip tube, and when a real pressure fermenter wins.
Guide
Homebrew Kegging Setup, Step by Step
The setup order, plus the three day-one failures and how to avoid them.
Guide
CO2 Regulator Settings: PSI by Temperature and Style
PSI by temperature and style, with the line-balancing numbers.
Roundup
The Best Conical Fermenters
Stainless, plastic and pressure-capable conicals compared, with chamber-fit warnings.