Guide
Homebrewing for Beginners: Your First Batch
What actually happens across the three weeks of a first batch, and the two things that decide whether it tastes good.
The short answer
A first homebrew batch has five stages: boil the wort with hops, chill it, pitch yeast and ferment for two weeks at a controlled temperature, then bottle or keg and condition for two more. The two mistakes that ruin most first batches are poor sanitation and fermenting too warm -- fix both and your first beer will be genuinely good.
DisclosureWe earn a commission on qualifying purchases made through links on this page, at no extra cost to you. It does not change what we recommend or how we rank it -- here is how we pick and here is the full disclosure.
The process
Five stages, three weeks
- Boil (60-90 minutes). Dissolve malt extract in water, bring to a boil, and add hops on a schedule. Early hops give bitterness, late hops give aroma. The boil also sterilizes the wort and drives off dimethyl sulfide, which is why a real rolling boil matters rather than a simmer.
- Chill (20-30 minutes). Get the wort down to around 70°F so you can pitch yeast. Speed matters: hot wort is defenseless, and the faster you get it cool the less chance anything else colonizes it. An immersion coil is the standard tool.
- Pitch and ferment (10-14 days). Add yeast, seal with an airlock, and hold the temperature. This is where the beer is actually made, and where almost everything that can go wrong does.
- Package (2-3 hours). Transfer off the yeast into bottles with a measured amount of priming sugar, or into a keg under CO2. Bottling is the long way; see kegging vs bottling for why most brewers eventually switch.
- Condition (1-2 weeks). Bottled beer needs two weeks at room temperature for the priming sugar to carbonate it. Kegged beer can be force carbonated in days.
Mistake one
Sanitation: everything after the boil
The boil sterilizes your wort. From the moment it starts cooling, anything that touches it must be sanitized -- the chiller, the fermenter, the lid, the airlock, the siphon, the thermometer, your hands. An infected batch does not taste slightly worse; it tastes sour, or like nail polish, and it goes down the drain.
The good news is that this is easy. No-rinse acid sanitizer at an ounce per five gallons, one to two minutes of contact, and no rinsing afterwards. The foam is harmless. The rule to internalize: clean first, then sanitize -- sanitizer does not work through soil, so a dirty surface cannot be sanitized regardless of how long you soak it.
Mistake two
Temperature: why first batches taste homemade
This is the big one, and nearly every beginner gets it wrong because no starter kit addresses it. Ale yeast wants to be held around 65 to 68°F measured at the beer. Active fermentation generates real heat, so a fermenter sitting in a 72°F room is internally closer to 78°F during its first two days.
At 78°F yeast produces fruity esters and harsh, solvent-like fusel alcohols. That combination is exactly the flavor people describe as “it tastes homemade” -- and it is a temperature problem, not a skill problem. A dual-stage controller and any spare refrigerator fix it permanently and cost less than most starter kits.
Three smaller things
Worth getting right on batch one
- Take a gravity reading. Before you pitch, and again when you think it is done. Two identical readings 48 hours apart is the only reliable sign fermentation has finished -- an airlock that has stopped bubbling tells you nothing.
- Be patient at the end. Beer that tastes harsh at day 10 is often fine at day 16. Yeast cleans up after itself -- it reabsorbs acetaldehyde and diacetyl -- if you leave it alone.
- Measure priming sugar properly. Too much is the one genuinely dangerous beginner mistake, because over-primed bottles can burst. Use a calculator keyed to your beer volume and style, not a guess.
Next
Where to go from here
Choosing a kit: best homebrew starter kits. Wondering about all-grain: all-grain vs extract. Planning what to buy over the next two years: the homebrew upgrade path. And if beer is not the only thing you want to make, a homebrewer already owns most of what mead needs.
What we recommend
The products on this page
Start here
Entry tier
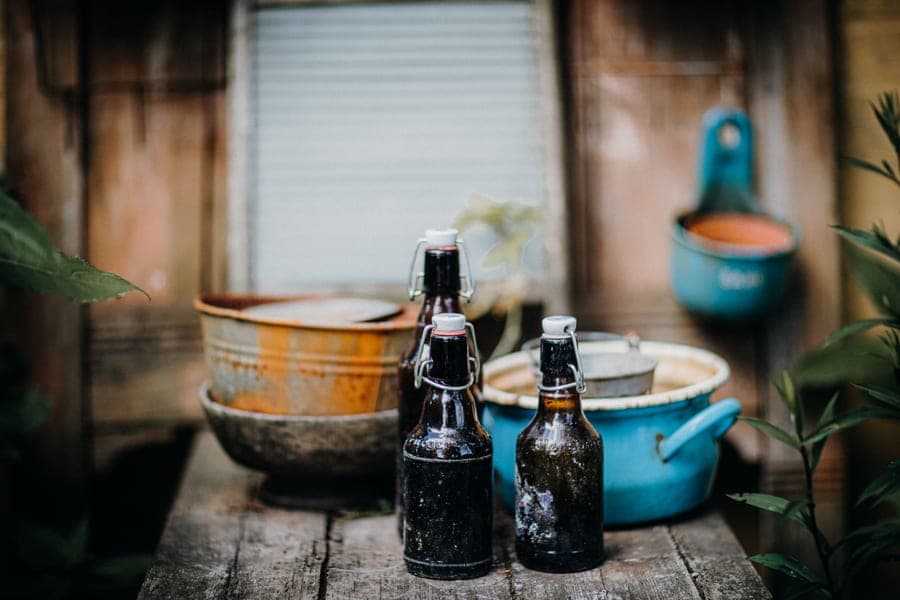
Northern Brewer Brew. Share. Enjoy. Starter Kit
Northern Brewer
A complete 5 gallon extract kit with fermenter, airlock, bottling hardware and a recipe. Five gallons is about 50 bottles, which is the right first batch.
Spec sheet
- Batch size
- 5 gal
- Method
- Extract, stovetop
- Includes
- Fermenter, airlock, recipe kit
What it is not good at
No temperature control and no kettle large enough for a full boil -- the two things that matter most are the two things not in the box.
Who it is for
A first batch at a size worth the afternoon
Buy this with it
Entry tier
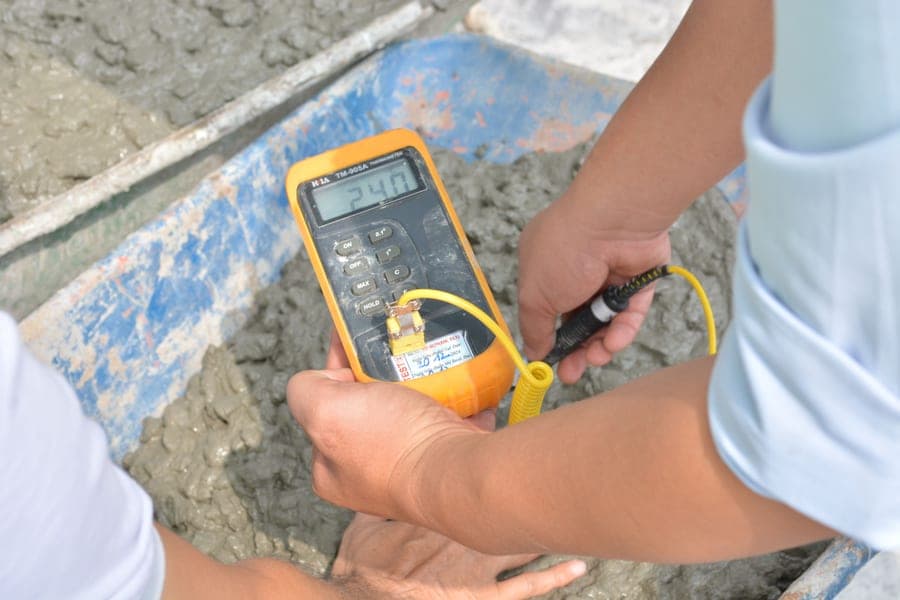
Inkbird ITC-308 Dual-Stage Temperature Controller
Inkbird
Pair it with any spare fridge or chest freezer and you control fermentation from your very first batch. This single purchase prevents the flavor beginners call homemade.
Spec sheet
- Stages
- Dual -- one heating and one cooling outlet
- Outlet rating
- ~1100W per outlet
- Probe
- NTC sensor on a 2 m lead
- Calibration
- User offset
- Compressor delay
- Configurable
- Wifi version
- ITC-308 Wifi sold separately
What it is not good at
It is a controller, not a chamber -- you need a fridge or freezer for it to switch.
Who it is for
Anyone whose house is not reliably 65-68 F
Buy more than the kit includes
Entry tier
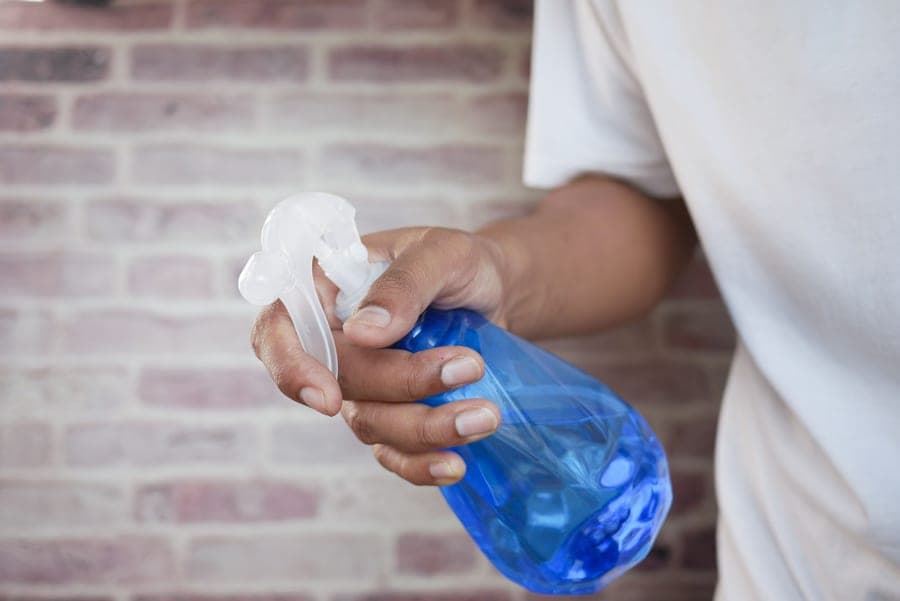
Five Star Star San Sanitizer
Five Star Chemicals
No-rinse acid sanitizer, one ounce per five gallons, one to two minutes of contact. Infection is the most common way a first batch fails and this is how you prevent it.
Spec sheet
- Type
- Acid-anionic, no-rinse
- Contact time
- 1-2 minutes
- Dilution
- 1 oz per 5 gal
What it is not good at
Mix with low-alkalinity water so it stays in its effective pH range. The foam is harmless and must not be rinsed off.
Who it is for
Every batch, forever
FAQ
Questions brewers actually ask
How long does it take to brew beer at home?
About three to four weeks from brew day to drinking. The brew day itself is two to three hours for extract, fermentation takes 10 to 14 days, and bottle conditioning adds another one to two weeks for the beer to carbonate. Kegging shortens the last stage to a few days because you force carbonate with CO2 rather than waiting on priming sugar.
Why does my homebrew taste bad?
Two causes account for most first-batch problems. Fermenting too warm produces fruity esters and harsh fusel alcohols, which is the flavor people call homemade, and it happens easily because active fermentation runs several degrees above room temperature. Poor sanitation after the boil produces sour or solvent-like off-flavors. Both are fully preventable.
Do I need to sanitize everything when brewing?
Everything that touches the wort after the boil, yes: the chiller, fermenter, lid, airlock, siphon, thermometer and your hands. The boil sterilizes the wort, and from the moment it begins cooling it is vulnerable. Clean surfaces first and then sanitize, because sanitizer cannot work through soil.
How do I know when fermentation is finished?
Take a hydrometer reading, wait 48 hours, and take another. Two identical readings mean fermentation has stopped. An airlock that has stopped bubbling proves nothing, because CO2 production slows long before the yeast finishes and a lid can leak gas silently. The hydrometer is the only reliable instrument for this.
What temperature should I ferment my first beer at?
Between 65 and 68 degrees Fahrenheit measured at the beer rather than the surrounding air. Active fermentation generates its own heat, so a vessel in a 72 degree room runs internally at closer to 78, which is well into the range where yeast produces harsh flavors. Tape the probe of a temperature controller to the side of the fermenter under some insulation.
Also useful
Read next
More on brewing systems
Roundup
The Best Homebrew Starter Kits
Starter kits compared, plus the two things almost every kit leaves out.
Guide
Fermentation Temperature Control
Target temperatures, probe placement and the first 48 hours that decide flavor.
Roundup
The Best Electric All-in-One Brewing Systems
Five all-in-one systems compared on finished volume, voltage and parts support.
Roundup
The Best All-Grain Brewing Systems
Single-vessel, hybrid and welded all-grain approaches compared on time, space and cost.