Guide
How to Harvest Yeast From a Conical
The dump valve is the whole argument for a cone. Used properly it replaces a yeast order with a jar in the refrigerator.
The short answer
To harvest yeast from a conical, dump the first cold break and trub a day or two after fermentation starts, then collect the clean yeast that settles after it. Sanitize the valve, catch the crop in a sanitized jar, refrigerate it, and repitch within a few weeks.
DisclosureWe earn a commission on qualifying purchases made through links on this page, at no extra cost to you. It does not change what we recommend or how we rank it -- here is how we pick and here is the full disclosure.
Why harvest
The cone pays for itself one jar at a time
A healthy five gallon fermentation leaves far more yeast at the bottom of the vessel than you pitched into it. In a bucket that yeast is mixed with trub and hop matter and is awkward to separate. In a cone it stratifies: the heavy cold break and hop debris fall first, the yeast settles on top of it, and a dump valve underneath lets you take them off in that order.
That is the practical argument for a cone-bottom fermenter, and it is worth money. A strain you have harvested is a strain you do not have to buy, propagate or wait for -- and a pitch of healthy harvested slurry gives a faster, more confident start than a single pack ever does. The alternative route to the same cell count is building a yeast starter, which is what you do when you are starting a strain rather than continuing one.
Timing
Dump the trub early, take the yeast later
The sequence matters more than anything else here. Within the first day or two of active fermentation, the cone fills with cold break, protein and hop material -- the stuff you do not want in a repitch. Dump that. It is dark, it is sludgy, and it comes out first precisely because it is heaviest.
What settles after that is your crop: paler, creamier, and mostly yeast. Take it at the end of fermentation or after a short cold crash, when the yeast has flocculated but before it has been sitting on the bottom for a week. Yeast left on trub for a long time under a tall column of beer is yeast under stress, and stressed yeast is where off flavours in the next batch come from.
If you are fermenting under pressure, harvest before you drop the pressure, not after. Pulling a crop from a pressurised cone is faster and the vessel stays sealed, which keeps air out of the beer still sitting above it -- the same logic that makes closed transfer worth doing at all.
The procedure
Six steps, and the one everybody rushes
- Sanitize the valve, outside and in. Spray the valve body and the outlet, open and close it a few times, and spray again. This is the step people rush and it is the only barrier between the room and your crop.
- Dump the trub. Open the valve and let the dark break material run until what comes out turns pale and creamy.
- Catch the clean crop. Into a sanitized jar, filled most of the way but not to the lid -- harvested yeast keeps producing a little gas and a sealed full jar is a pressure vessel you did not intend to build.
- Label it. Strain, date, batch and generation number. Memory is not a labelling system.
- Refrigerate immediately. Cold slows metabolism and keeps the crop viable. Warm slurry in a jar on a counter degrades within hours.
- Repitch within a few weeks. Sooner is better. Older slurry needs a starter to wake it up, at which point you may as well have built one.
How many times
Generations, and when to stop
Repitched yeast drifts. Each generation carries a little more mutation and a little more selection pressure, and the character of the fermentation changes slowly with it. Most homebrewers keep a strain for a handful of generations and then start fresh, which is the sensible default -- track the generation number on the jar so the decision is based on a label rather than a guess.
Two things shorten the useful life of a strain. Harvesting from high gravity or heavily hopped beers, both of which stress yeast harder than an ordinary ale does, and long storage between pitches. If you are brewing the same base beer every few weeks, a harvested strain stays healthy for longer than if you are jumping between a barleywine and a pale lager.
What we recommend
The products on this page
Mid tier
FermZilla Tri-Conical 27 L
KegLand
The detachable collection butt is the best harvesting feature at this price: trub and yeast settle into a removable chamber you can isolate, and the clear PET body lets you watch the layers separate before you decide what to keep.
Spec sheet
- Capacity
- 27 L / 7.1 gal (also 55 L)
- Cone
- Detachable collection butt for yeast harvest
- Fitting
- 3 in tri-clover ferrule molded into the tank
- Valve
- Redesigned tri-clover dump valve
- Material
- Clear PET body
- Pressure
- Yes, with the pressure kit
Who it is for
Harvesting where you can see what you are collecting
Prosumer tier
Spike Brewing CF5 Conical Fermenter
Spike Brewing
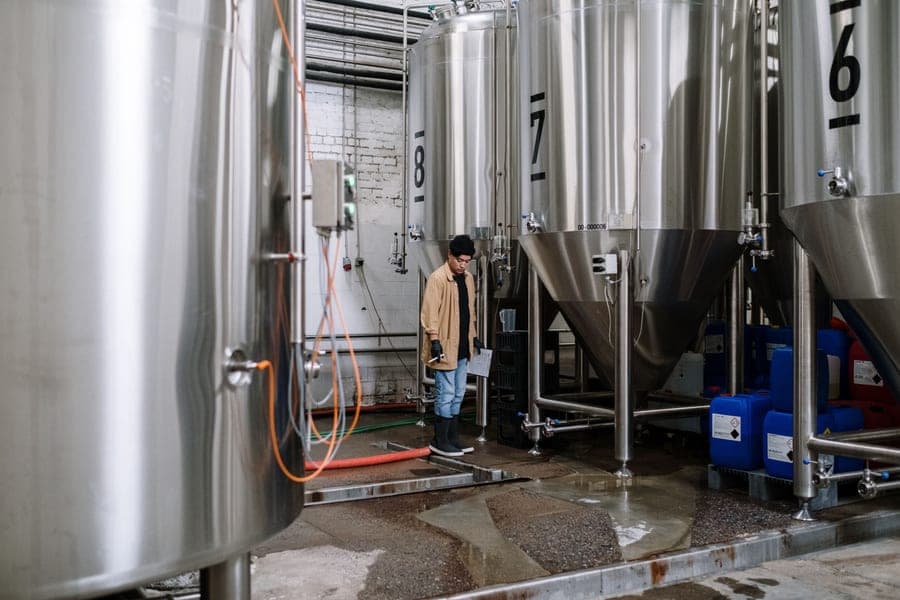
A full cone with a dump valve and tri-clamp ports, so the valve comes apart completely to be cleaned between crops. Welded construction with no crevices is what keeps a repitched strain clean over several generations.
Spec sheet
- Capacity
- 8 gal / 30 L (5 gal batch)
- Material
- Welded 304 stainless, no crevices
- Pressure
- Rated for pressure transfer and spunding
- Ports
- Tri-clamp throughout
- Cone
- Full cone with a dump valve
- Options
- Cooling coil, thermowell, CIP arm
Who it is for
Repeat harvesting in welded stainless
Entry tier
Five Star Star San Sanitizer
Five Star Chemicals
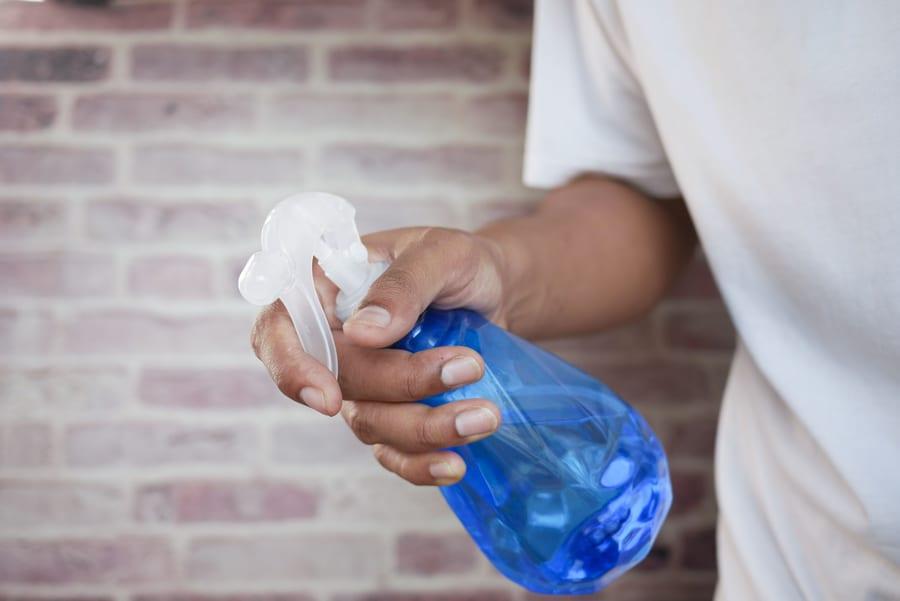
Harvesting is an open transfer by nature, so the sanitation has to be absolute. A no-rinse acid sanitizer on the valve body, the jar, the lid and anything that touches the crop is the entire infection control plan.
Spec sheet
- Type
- Acid-anionic, no-rinse
- Contact time
- 1-2 minutes
- Dilution
- 1 oz per 5 gal
Who it is for
The valve, the jar and your hands
FAQ
Questions brewers actually ask
When should you dump the trub from a conical?
Within the first day or two of active fermentation, once the cold break, protein and hop material have settled into the cone. Dumping that early separates the debris from the yeast that settles after it, which is what makes the later crop clean enough to repitch.
How do you store harvested yeast?
In a sanitized jar, filled most of the way but never to the lid, labelled with strain, date and generation, and refrigerated immediately. Harvested slurry keeps producing a little gas, so a completely full sealed jar builds pressure.
How long does harvested yeast stay good?
A few weeks in the refrigerator is the comfortable window for pitching slurry directly. Beyond that viability drops and you need a starter to wake it up, which removes much of the convenience that made harvesting attractive.
How many times can you repitch harvested yeast?
Most homebrewers keep a strain for a handful of generations before starting fresh. Repitching from high gravity or heavily hopped beers stresses the yeast harder and shortens that further. Track the generation number on the jar so you are deciding from a record rather than memory.
Can you harvest yeast from a pressure fermenter?
Yes, and it is cleaner than harvesting at atmospheric pressure -- the vessel stays sealed and the gas pushes the crop out of the dump valve for you. Harvest before you release the pressure, while the beer above it is still protected from air.
Sources
Read next
More on fermenters
Guide
How to Make a Yeast Starter
The 1.040 starter wort ratio, stir plate timing, when to decant and how to tell the starter actually worked.
Guide
How to Use a Conical Fermenter
Fill, dump, harvest, crash, transfer -- with the timings that matter.
Roundup
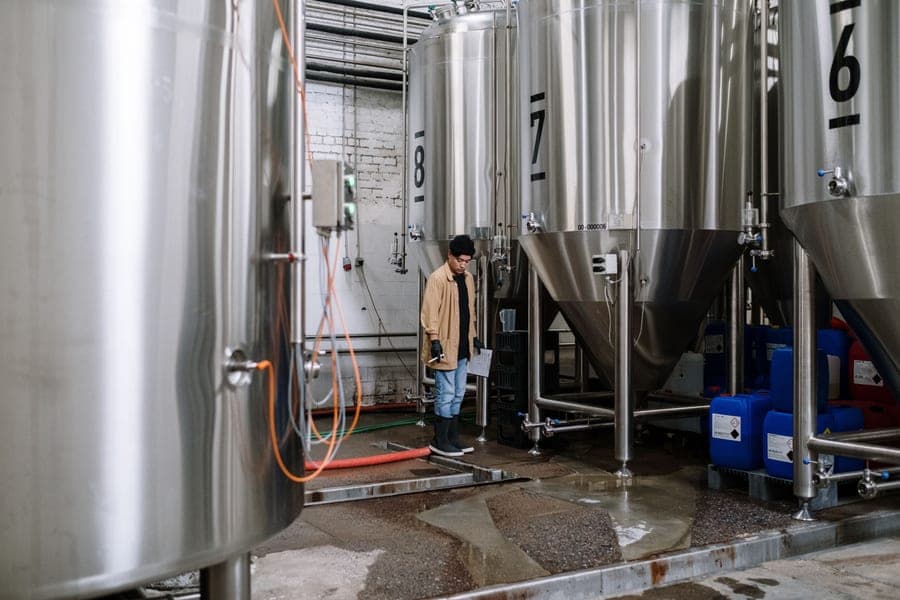
The Best Unitanks for Homebrewing
One-vessel fermenters compared on pressure rating, cooling method, cone design and what each one needs to buy alongside it.
Roundup
The Best Stir Plates for Yeast Starters
Magnetic stir plates for yeast starters ranked on flask capacity, speed control and platform size.
Guide
How to Clean a Fermenter
Dump, disassemble, soak, rinse: the fermenter cleaning routine for stainless, PET and glass vessels.
Roundup
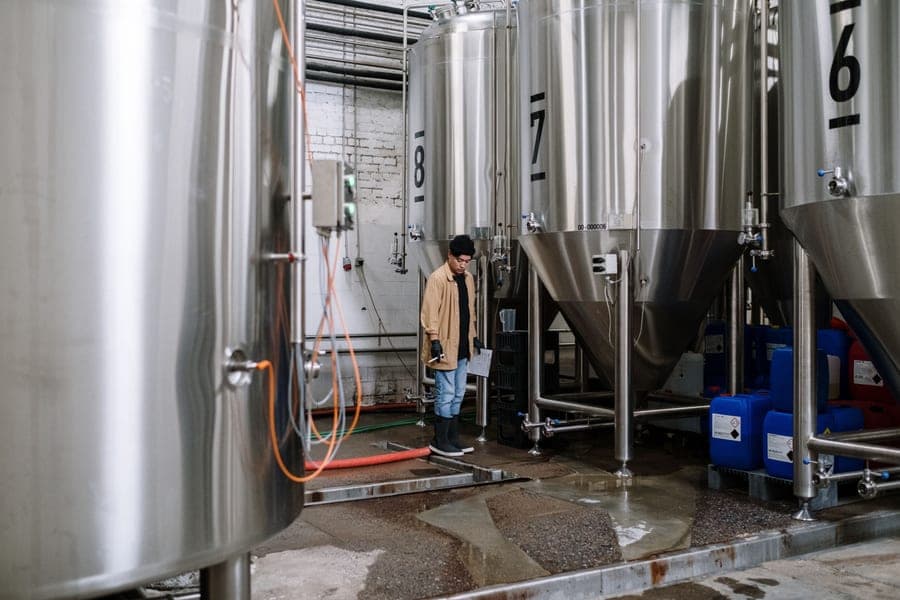
The Best Conical Fermenters
Stainless, plastic and pressure-capable conicals compared, with chamber-fit warnings.