Guide
How to Degas Wine
Dissolved CO2 reads as a prickle on the tongue and as a wine that will not clear. Getting it out is mostly warmth and patience.
The short answer
To degas homemade wine, bring it to room temperature, then stir vigorously with a degassing whip on a drill for one to two minutes at a time, resting between bursts, until stirring raises no more foam. A vacuum pump does the same job more gently, and simply bulk aging for a few months degasses wine on its own.
DisclosureWe earn a commission on qualifying purchases made through links on this page, at no extra cost to you. It does not change what we recommend or how we rank it -- here is how we pick and here is the full disclosure.
Three ways to degas, compared
| Method | Time | Risk |
|---|---|---|
| Drill-mounted whip | Minutes, in bursts | Splashing and oxidation if overdone |
| Hand paddle or spoon | Many minutes, tiring | Low, but hard to finish the job |
| Vacuum pump | Repeated short pulls | Low; gentlest on the wine |
| Bulk aging in glass | Two to six months | None, other than waiting |
| Warming first | Raise to room temp | None -- cold wine will not release CO2 |
| Skipping it | - | Prickly mouthfeel, wine will not clear |
Why it matters
Two problems CO2 causes
A wine that has just finished fermenting is saturated with dissolved carbon dioxide, because that is one of the two things yeast makes. Left in, that CO2 does two unwelcome things.
It changes the taste. Dissolved CO2 reads as a faint prickle or spritz on the tongue and makes the wine taste sharper and thinner than it is -- many kit wines judged “harsh” at bottling are simply still gassy.
And it stops the wine clearing. Fining agents work by binding to suspended particles so they fall out of solution, and tiny CO2 bubbles keep lifting those particles back up. A gassy wine resists fining indefinitely, which is why degassing comes before fining in every kit schedule -- how to use a wine making kit puts it in sequence.
Timing
After fermentation, never during
Degas only once fermentation is genuinely over: two hydrometer readings several days apart that are identical, at or near the kit’s target final gravity. Degassing a wine that is still fermenting is pointless, because the yeast immediately replaces the CO2 you removed.
It is also worth checking before you start that you have reached the final gravity rather than a stall. A stuck fermentation looks like a finished one on a single reading -- how to calculate ABV covers reading gravity properly.
Method one
The drill-mounted whip
The standard tool is a degassing whip -- a long stainless or plastic shaft with folding paddles -- chucked into a cordless drill. Lower it into the carboy with the paddles folded, let them open below the surface, and run the drill at moderate speed.
- Run it for one to two minutes, keeping the paddles fully submerged so you are stirring rather than whipping air in.
- Stop and let the foam fall. It will rise substantially on the first burst, which is exactly what you want to see.
- Repeat. Four or five bursts with rests between is typical for a 6 gallon batch at room temperature.
- Stop when a vigorous burst produces almost no new foam. That is the endpoint, and it is unmistakable once you have seen it.
Leave real headspace before you start. A carboy filled to the neck will foam over on the first burst, and cleaning wine off a floor is worse than the degassing.
Method two
The vacuum pump
A vacuum pump pulls the pressure above the wine down, which drops the amount of CO2 the liquid can hold, and the gas comes out of solution on its own. Pull a vacuum, hold it until the bubbling slows, release, and repeat.
It is gentler than stirring and it carries less oxidation risk, because you are removing gas from above the wine rather than agitating the wine itself. It is slower in wall-clock terms and the equipment costs more, which is why most kit winemakers reach for the drill instead.
The same pumps are generally sold to do vacuum transfers between vessels, so if you were going to buy one for racking anyway, degassing comes free with it.
Method three
Do nothing, for longer
Wine degasses itself. CO2 works its way out through the airlock over weeks and months, which is why traditional winemaking has no degassing step at all -- a wine bulk aged in a glass demijohn for six months arrives at bottling clear and flat without anyone touching it.
Degassing exists because kit schedules compress a year of winemaking into four to eight weeks, and the gas has not had time to leave. If you are happy to bulk age, you can skip the whole stage -- and the wine will usually be better for the aging anyway -- demijohn vs carboy covers the vessel choice for long aging.
What goes wrong
Three real risks
- Oxidation from over-stirring. A whip spun at high speed with the paddles near the surface drags air into the wine. Keep the paddles deep, keep the speed moderate, and stop at the endpoint rather than stirring for a fixed time.
- Volcanic foaming. First burst on a full carboy. Leave headspace, or degas in the primary bucket where there is room.
- Degassing a sulfited wine hard. Vigorous stirring drives off free sulfur dioxide along with the CO2. Add your sulfite after degassing, not before, so the protection you are paying for stays in the wine -- wine making equipment list.
What we recommend
The products on this page
Entry tier
Complete Wine Making Equipment Kit
Midwest / Northern Brewer
A complete equipment kit is where the degassing whip, the hydrometer and the auto-siphon come from. Degassing is the one stage in kit winemaking that needs a tool you do not otherwise own.
Spec sheet
- Batch size
- 6 gal
- Primary
- Food-grade bucket with a lid and airlock grommet
- Secondary
- 6 gal glass or PET carboy
- Transfer
- Auto-siphon and tubing
- Measurement
- Hydrometer and test jar
- Not included
- The wine kit itself, and usually a corker
What it is not good at
The wine kit itself is separate, and most equipment kits do not include a vacuum pump.
Who it is for
A first wine kit where you still need the hardware
Mid tier
RJS Craft Winemaking Kit
RJS Craft Winemaking
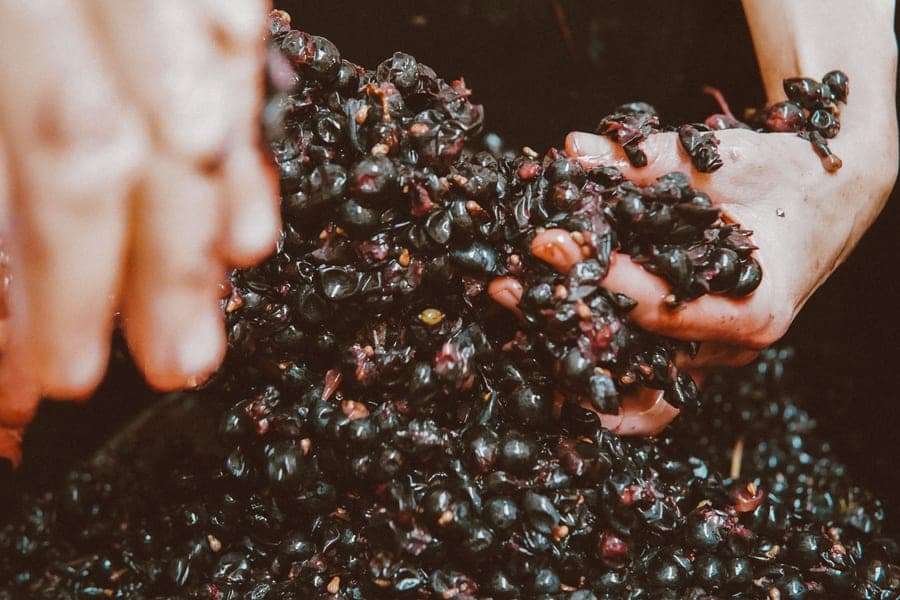
Kit wines are the wines that most need degassing, because the schedule compresses fermentation and clearing into weeks rather than the months a bulk-aged wine gets.
Spec sheet
- Batch size
- 6 gal / ~30 bottles
- Varietals
- Chardonnay, pinot noir, viognier, amarone and more
- Tiers
- Multiple tiers; juice content rises with tier
- Time
- 4-8 weeks to bottle, months to peak
- Includes
- Juice, yeast, additives, fining agents
- Equipment
- Not included -- needs a fermenter and carboy
What it is not good at
Needs a fermenter and carboy; the kit supplies juice, yeast, additives and fining agents only.
Who it is for
Six gallon batches on a four to eight week schedule
Entry tier
Glass Demijohn 5-6 Gallon
Various
The patient route. Wine bulk aged in glass under an airlock degasses itself over a few months, because glass is fully oxygen-impermeable and there is nowhere for the CO2 to go but out through the airlock.
Spec sheet
- Capacity
- 5-6 gal (smaller sizes common in Europe)
- Material
- Glass -- fully oxygen-impermeable
- Neck
- Narrow, takes a #6.5 or #7 bung
- Cleaning
- Needs a carboy brush; no wide access
- Weight
- Heavy full; use a milk-crate carrier
- Best for
- Long bulk aging where oxygen is the enemy
What it is not good at
Heavy when full, needs a carboy brush, and the neck gives no wide access for a whip.
Who it is for
Winemakers who would rather wait than stir
FAQ
Questions brewers actually ask
How do you degas homemade wine?
Bring the wine to room temperature, then stir it with a degassing whip on a drill for one to two minutes at a time, resting between bursts so the foam can fall. Four or five bursts is typical for a 6 gallon batch. Stop when a vigorous burst raises almost no new foam.
How long does it take to degas wine?
Five to fifteen minutes of actual work with a drill whip on a room-temperature batch, spread over several bursts with rests. Cold wine takes far longer because CO2 stays in solution at low temperatures. Bulk aging achieves the same result over two to six months with no work at all.
How do you know when wine is fully degassed?
When a vigorous stir raises almost no new foam. The first burst on a gassy wine foams dramatically; by the last one the surface barely changes. That transition is obvious once you have seen it, and it is a better endpoint than stirring for a set number of minutes.
Do you have to degas wine?
Only if you are bottling on a kit schedule. Dissolved CO2 makes wine taste prickly and thin and prevents fining agents from clearing it. Wine bulk aged in glass for several months degasses through the airlock on its own, which is why traditional winemaking has no degassing step.
Can you degas wine with a vacuum pump?
Yes, and it is gentler than stirring. Lowering the pressure above the wine reduces how much CO2 the liquid can hold, so the gas leaves solution without agitating the wine and risking oxidation. Pull a vacuum, hold until the bubbling slows, release and repeat.
Can you over-degas wine?
You can damage it by over-stirring rather than by removing too much CO2. Spinning a whip with the paddles near the surface drags air into the wine and oxidizes it, and hard stirring also drives off free sulfur dioxide. Keep the paddles deep, use moderate speed, and add sulfite after degassing.
Read next
More on wine & mead
Guide
How to Use a Wine Making Kit, Step by Step
The full kit sequence, plus the three mistakes that account for most disappointing kit wine.
Comparison
Demijohn vs Carboy
The terminology settled, then the glass-versus-PET decision that matters.
Roundup
The Best Wine Fermenters
Variable-capacity tanks, carboys and primaries, judged on headspace control.